


Making your DIY grind box will be very convenient for you, contributing to your skateboarding career. When it comes to creating your grind box, it’s straightforward to make that will match your preferences. In this article, you’ll learn exactly how to build a grind box for skateboarding.
Before we even start, consider your preferred grind box height. The more proficient you are, the taller you will want the box. Also, it will serve as a challenge for you. Let’s get to the drawing board and begin our skateboard grind box plans.
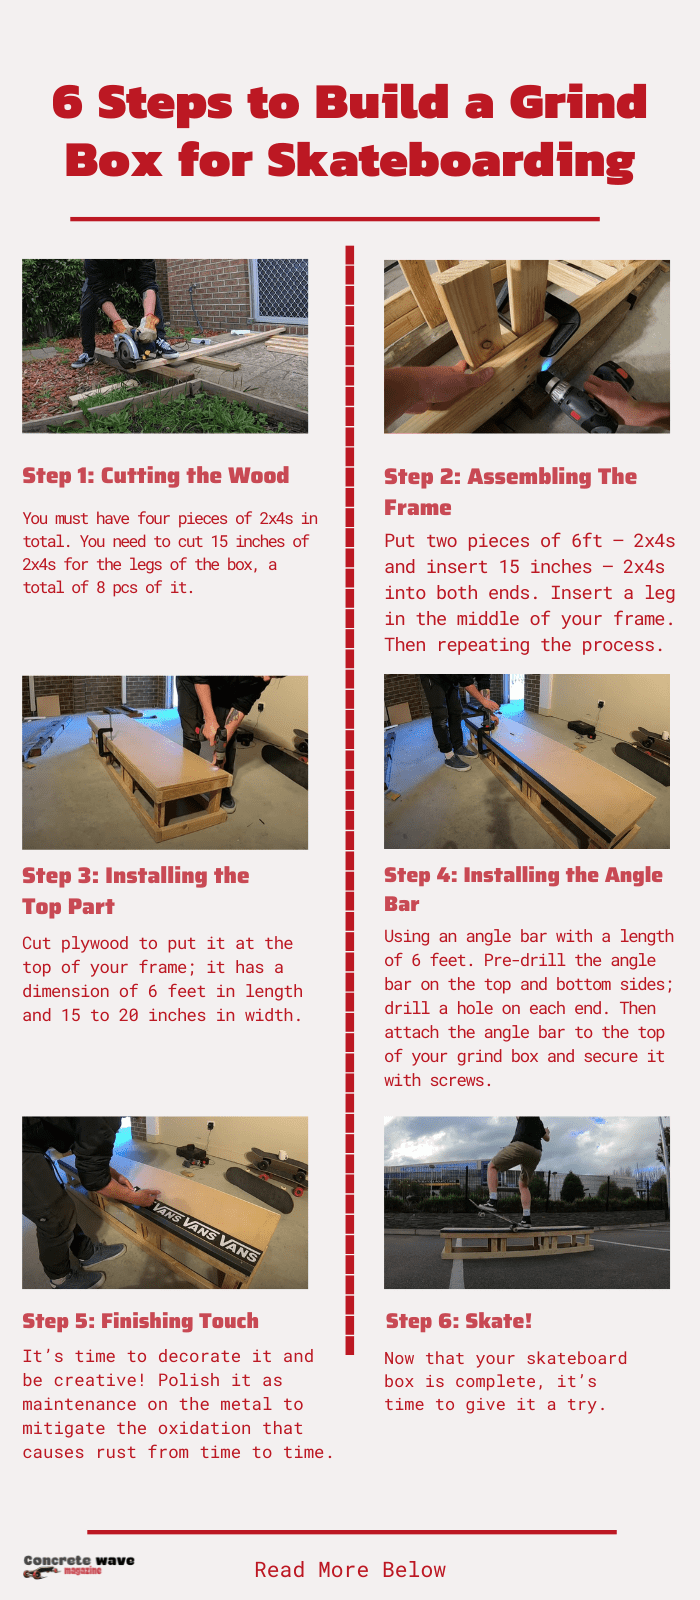
Table of Contents
What Is a Grind Box
A grind box is a widespread skating use like ramps and skate rails. It’s a rectangular wooden box with a metal angle at the top for a smooth grind.
You can make a grind box for free using your household tools and excess wood. Our best recommendation for your grind box dimensions is 2×4 feet, applicable for kids and adults.
What Will You Need
Everything you need is maybe in your household, but there are specific items you need to prepare for this project. If some of the things are not in your inventory, you can purchase them online or visit your local store.
- Pencil
- Drill – A cylindrical end-cutting tool creates or expands round holes in a solid material like wood.
- Tape measure
- Drill bits
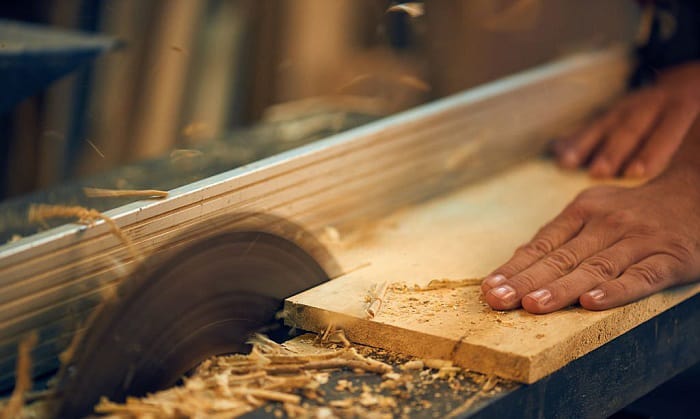
- Circular saw – Its most typical job is to cut straight lines through pieces of timber, which is what it is most known for. Knowing how a circular saw works makes it simpler to use for your skateboarding box plans.
Items you’ll need for the skate box plans:
- 4 pcs. – 6 feet of 2×4’s wood
- 8pcs. – 15 Inches 2×4’s
- 1 pc. – 6 feet of angular iron bar
- 28-30 pcs. – 2-inch screws
- 12-14 pcs. – 1-inch screws
- Plywood
Step by Step Procedure

Step 1: Cutting the Wood
Find a clean space and gather all the materials needed for your grind box plans. And the first thing we need to do is cut the wood pieces into smaller parts to make the box.
- Get your 2x4s and tape measure, mark 6 feet on your 2x4s since this length is suitable for your grind box. Use a saw to ensure that you are well-versed in using it since safety is our priority.
- After that, you must have four pieces of 2x4s in total.
- Next, cut the box’s legs. You need to cut 15 inches of 2x4s for the legs of the box, a total of 8 pcs of it.
Step 2: Assembling The Frame
It’s time for assembly!
After cutting 4, pcs. of 6 feet 2×4s wood and 8pcs of 15 Inches 2x4s. Now we’ll be putting them to use.
- First off, on your table, put two pieces of 6ft – 2x4s and insert 15 inches – 2x4s in both ends.
- Also, insert a leg in the middle of your frame. Using your drill, pre-drill the sides you would like to put your screws on.
- Repeating the process, you must have two identical frames.
- Now, put the frame intact by tightening them using your screws.
- Conjoin them by placing a leg between the two similar frames, resulting in a box preparing to put the plywood.
Step 3: Installing the Top Part
The next stop is your plywood. It must have a dimension of 6 feet in length and 15 to 20 inches in width (depending on your measured frame width).
Once your plywood is cut, precisely put it at the top of your frame and mark the area you’ll be drilling. After that, tighten them using your screws to ensure that everything is aligned.
Step 4: Installing the Angle Bar
This is the vital part of your grinding box, the part you’ll grind. The last piece is the angle bar.
- Measure an angle bar with a length of 6 feet, polish it before we install it.
- Pre-drill the angle bar on the top and the bottom side, drill a hole on each end. Use your preferred drill bits that are suitable for your screws.
- Lastly, attach the angle bar at the top side of your grind box and tighten them using your screws.
Step 5: Finishing Touch
Now your grind box seems to be in place; It’s optional to decorate it and be creative! On the other hand, this will give a protective layer from weathering. It’s highly recommended that you paint it; you may do an ombre, patterns, and splash of colors, depending on your style.
Only paint the wooden part of your grind box, set aside the angle bar since you’ll be grinding on it. You may polish it as maintenance on the metal to mitigate oxidation that causes rust from time to time.
Step 6: Skate!
Now that your skateboard box is complete, it’s time to give it a try. A very convenient way to have a skating rig in the comfort of your home, you may also try having a DIY rail and ramp.
Conclusion
Now we’ve shared with you all the necessary instructions and information on How to build a grind box for skateboarding; you may try it as long as you have all the items and tools you’ll need. Also, you may make a skate box out of pallets. You may try it out too!
Hopefully, this article has been helpful to you in terms of practicing your grinding skills and applying them to other tricks. Consider sharing this tutorial with your friends or co-skaters if you find this tutorial interesting.

Hi, I am Charles Harris. I opened this site to write as much as I can about my biggest passion – skateboarding!
I started as a clumsy yet passionate rookie 10 years ago to now a still passionate yet much better skateboarder! But I have to tell you, the whole journey has always been fun and rewarding, indeed not without hardship.