

Skaters who constantly challenge themselves often make significant breaks in the sport. These challenges could be trying new skating styles, different skateboard setups, or dodging new ramps.
If you jump on your deck often, one of the things you want is better airtime. Did you know it’s possible to launch ramp skateboarding from your home?
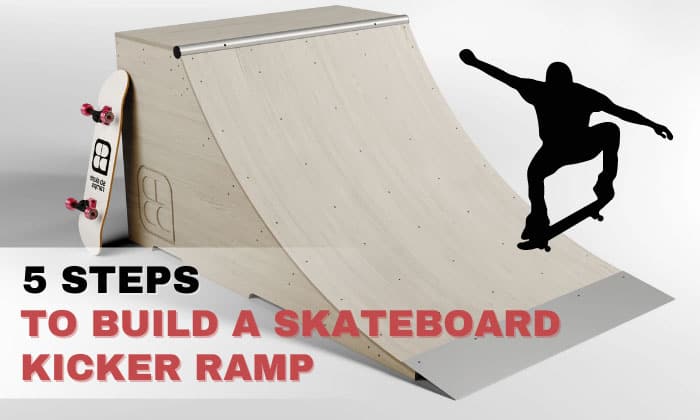
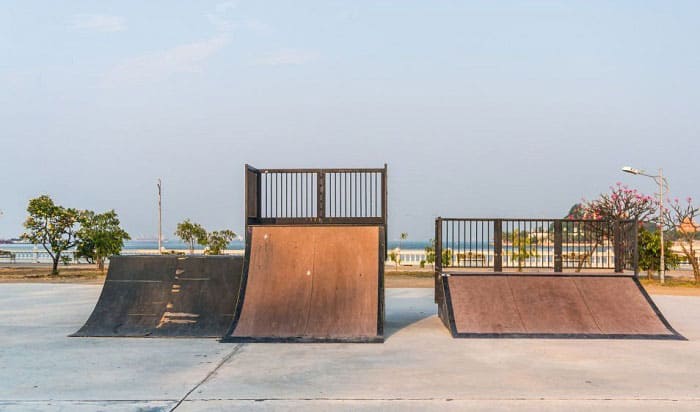
Read on to learn detailed steps on how to build a skateboard kicker ramp to pull off better jumps than before. Through this tutorial, you will also understand how wooden ramps and pipes start.
Table of Contents
What You Need for This Tutorial
Learning how to build a kicker ramp requires home improvement materials. So, you may already have the following parts and tools.
- Wood – The primary material for our ramp is wood. Your wood materials should consist of six 23-inch long 2×4 lumber pieces plus one 1/2″ plywood cut into four 2×4 parts.
- Building materials – We need one thin 3/16 metal sheet at 4 ft x 10″ to serve as the entry point of the skateboard.
- Hardware – The wooden wedge ramp we’re making may be small, but adhesives won’t secure it well enough. So, prepare enough screws with sizes of 1″, 1 1/2″, and 2 3/4″
- Measuring tools – We should measure our parts before making necessary cuts. Thus, prepare a measuring or steel tape and pencil.
- Cutting tools – Finally, we need sharp edges and tips in a circular saw and various drill bits to cut through wood.
Making a Portable Kicker Ramp: Step by Step
Step 1: Cutting the wood
Remember that we prepared 2×4 lumber and plywood. Should you have bought a 2×4 with a length different from the one specified, you may cut it. Our goal is to have six pieces of this wood at 23″ long. Once done, set them aside.
Next, grab a 1/2″ 2×4 plywood. Cut through the board and leave a 3′ and 5″ length. Put a tick mark on the 2′ edge 1 1/2″ away from that long side of the plywood.
Lay it flat and draw a diagonal line from the tick mark to the opposing upper corner. Cut through the plywood following the line drawn. You now have a piece of the ramp’s walls plywood.
Trace the first wall against another plywood and cut through it. You have already completed the kicker ramp’s walls.
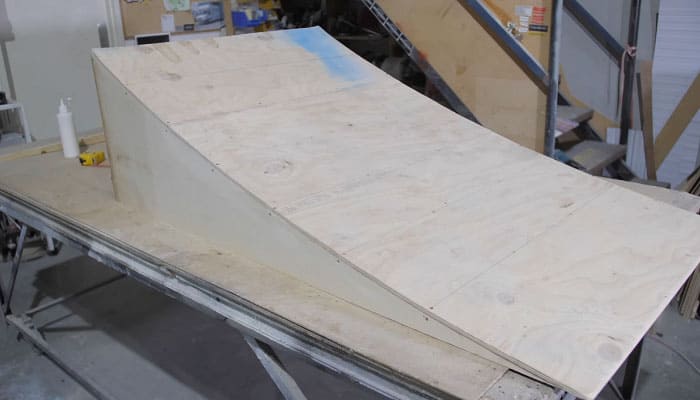
Refer to the figure below for a rough idea of how the ramp will look.
Step 2: Frame the bottom
In this stage, we’ll fix the walls of the DIY kicker ramp and its front and back bottom brace.
Begin by placing one 2×4 with the broader side against the ground. Put another 23-inch lumber at a distance approximately the same as the length of the plywood. The narrow side should face up. Such will serve as the back bottom side of the ramp.
The 1/2″ plywood we cut has a 2′ and 1 1/2″ vertical side with the broad side facing sideways. Align the 1 1/2″ end with the first lumber we laid. That means the second 2×4 stands along with the 2′ side of the plywood. Ensure that no part of the lumber exceeds the sides of the plywood.
Drill through the plywood to fix the lumbers against it. Repeat the same process with the other plywoods.
Step 3: Framing the top
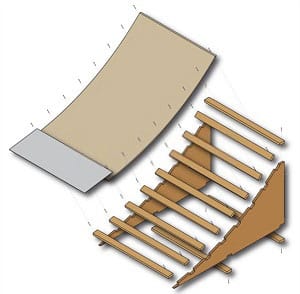
Now, we have the bottom side of the ramp framed with two 2×4 lumbers.
At this point, we’ll frame the ramp side of this kicker obstacle. Begin by drilling one 2×4 at the topmost part of the ramp and between the two plywood walls. The broad surface should face out. It should also align with the sloping side of the plywood. As in the previous step, no portion of the lumber should exceed the plywood’s sides.
You now have three uninstalled 2×4 lumbers left. Measure 6″ from the bottom lumber. Drill a 2×4 between the plywood walls. Like the top piece, the broad side faces out and aligns with the sloping side of the plywood.
Measure another 6″ from the recently drilled lumber and install another 2×4. Repeat the same process with the last 2×4.
In all steps related to the installation of the 2×4 lumbers, use 1″ screws.
Step 4: Covering the ramp
We’re finally beyond halfway through building a small ramp, as its skeleton is now ready. Grab your other 2×4 1/2″ plywood.
Lay it flat against the ramp. Ensure you cover all the sides and corners. Fix the board by drilling it against the frame. Note that you should use 1 1/2″ screws in this part.
Now that the ramp looks solid, it’s time to refine its entry point using a metal sheet.
So, take your 4′ x 10″ metal layer and lay it flat against the bottom of the slope. It should close against the ground for a smooth skateboard transition. Once set, drill the sheet using 3/4″ screws.
Begin by drilling on the sides of the metal sheet with your 3/16 bit. Enlarge the holes for the hardware using a 3/8 bit.
Other skaters add a masonite sheet after the plywood and before the metal sheet. And if you want to do the same, all you need is a masonite layer as long as the diagonal cut on the ramp wall and as wide as the entire ramp’s width.
The excess plywood beneath it will be under the metal sheet used to cover the ramp’s entry.
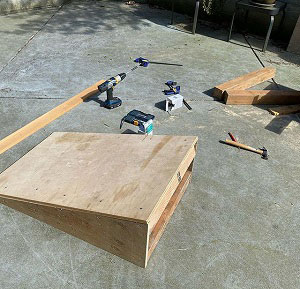
Step 5: Clean up

Of course, you don’t want to try your kicker with tools and scrap materials scattered around. Or else, one wrong move would expose you to accidents.
So, once your homemade skate ramp gets solidly framed and refined, gather all your equipment and put away materials you can no longer use.
From there, you can grab your skateboard and try your first jump off your new kicker.
Frequently Asked Questions
How tall should a kicker ramp be?
Based on the kicker we made, we have a 2′ ramp. But looking at other kicker ramp dimensions, some kickers have their peaks at 1.5 feet. If not the height, skaters and other kicker ramp plans consider the angle rise of the kicker.
Often, kicker ramp MTB and skaters use a 15° to 30° inclination.
How long should a kicker ramp be?
When you make a kicker ramp, it should be as long as 2′ to 3′, like the one we just made. While other ready or custom-made kicker launch ramp plans go longer or shorter, the construction and functionality matter the most.
Conclusion
It’s not only with skateboards that we can be creative. Because sometimes, what makes our skate rides more fun and thrilling are ramps and obstacles. What’s better is we can achieve these at a low cost.
And now that you finally know how to build a skateboard kicker ramp, jumping high, ollieing better, and flipping with more air time are within your reach. All you need are the appropriate materials and tools with enough precision to achieve the perfect kicker figure.

Hi, I am Charles Harris. I opened this site to write as much as I can about my biggest passion – skateboarding!
I started as a clumsy yet passionate rookie 10 years ago to now a still passionate yet much better skateboarder! But I have to tell you, the whole journey has always been fun and rewarding, indeed not without hardship.