

Grip tape is the gritty layer that’s applied on top of a skateboard deck for increased traction and stability. Although some skateboards come pre-gripped, learning how to apply skateboard grip tape is an essential skill.
Consider following these steps when replacing worn-out grip tape:
- Prepare your grip tape
- Position it over the center of your deck
- Place it over your deck
- Cut the edges precisely
- Poke holes for your trucks
Whether you’re clueless or attempting to re-grip a new deck, don’t fret! Check out this detailed guide for techniques you can use to apply grip tape like a pro.
What You Need
Applying grip tape on a skateboard requires patience, precision, and steady hands but it’s not as hard and complicated as you think it will be! Grab these materials to get started:
- Flat File
- Retractable Blade Knife or Razor Blade
- Screwdriver
- Grip Tape
These materials can be purchased from skate shops and hardware stores. Keep in mind that scoring high-quality grip tape yields the best result.
Step-By-Step Instructions
Step 1: Prep Your Deck
Start by cleaning your skateboard deck to make sure it’s gunk and grime-free. Gradually strip off residual grip tape on the surface if you’re working on an old deck using a retractable blade knife or razor blade. Following these steps will increase the adherence to your grip tape.
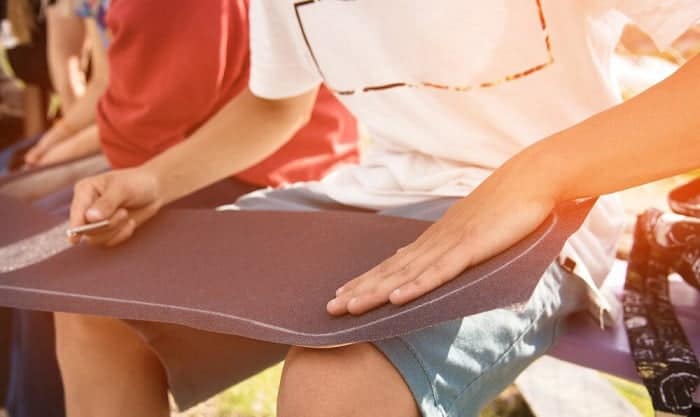
Step 2: Get Your Grip Tape Ready
Carefully peel away the backing of your grip tape to expose the sticky surface. Keep the paper backing as this will come in handy to keep your hands away as you press your grip tape onto your deck. Simply insert it between your hands and use it as a barrier to protect the gritty side as you wrap your skateboard deck with grip tape.
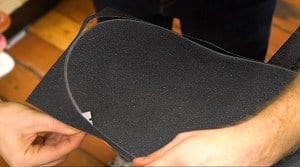
Step 3: Position Your Grip Tape
Hold and hover your grip tape over your board while ensuring it’s centered. Make sure you have enough grip tape to cover your entire deck from the nose of the board to the tail. Readjust your grip tape as needed to find the center of your board accurately.
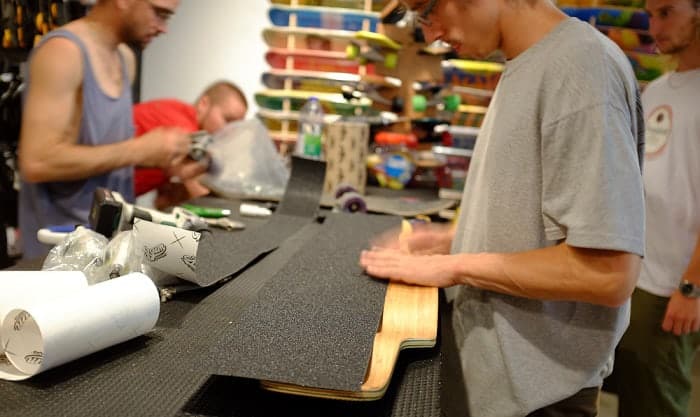
Step 4: Place Your Grip Tape Over Your Deck
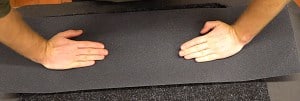
Once properly centered, grab your backing paper and put it over your grip tape. Press your grip tape down the center of your board and begin sticking and rubbing it down using outward strokes. Repeat this step until your whole deck is covered.
Step 5: File Your Grip Tape
Grab your flat file and carefully rub it against the edge of your deck. Make sure to put grip tape on your entire deck without missing corners. Doing this will leave a white demarcation line that will help you trim your grip tape neatly and precisely.
Step 6: Cut Your Grip Tape
Using your retractable blade knife or razor blade, slowly poke through the white demarcation line on your grip tape from underneath. Position your knife at a 45-degree angle and carefully cut the excess grip tape from the edge of your deck by following the line.
Step 7: Poke Air Pockets
Now that your grip tape has been cut all the way through, check for air pockets or bubbles and poke them with your retractable knife or razor. Put your deck down and release any air pockets you may have missed by stepping on it and applying pressure.
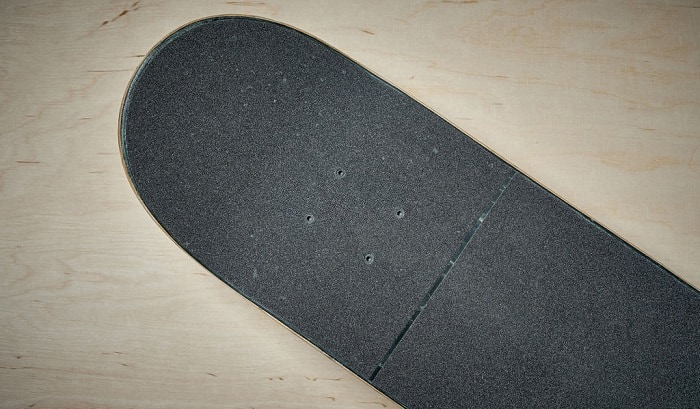
Step 8: Poke Holes For Your Trucks
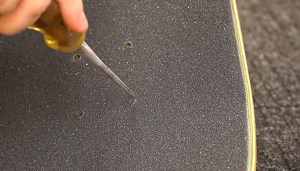
Locate all holes where the screws of your skateboard trucks will go. Using the pointed end of your screwdriver, carefully poke holes through by rotating it as you go. Make sure all openings are clear and punctured precisely so you can install your screws with ease.
Step 9: Sand the Edges
This step is optional but you can take some of your excess grip tape and sand the open edges of your deck. Make sure to go over the entire perimeter of your deck. Taking this additional step will ensure that the edges of your deck are smooth and free from adhesive.
Check out this video for other quick and easy methods you can follow to grip your skateboard like an expert:
What Grip Tape Should You Use
Do you know that not all grip tape is made equal? While its surface is similar to the texture of fine sandpaper, it comes in a wide array of colors, designs, and grit levels. To help you determine which one to use, here’s a guide we’ve put together for you:
Standard Grip Tape
Standard grip tape is used by beginners and pro riders alike because it’s widely available and is one of the most affordable options available out there. However basic it seems, standard grip tape comes in a variety of grit levels you can choose from and is the best one to work with when learning to apply grip tape to a skateboard.
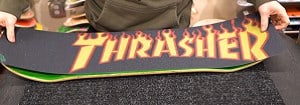
Specialized Grip Tape
Specialized grip tape offers a selection of colors, designs, and even pre-stenciled customized art if you want an upgrade. They also come in higher grit levels for unmatched grip and stability. Stay clear of extremely high grit levels though as they tend to damage your shoes more quickly.
Non- Abrasive Grip Tape
Non-abrasive grip tape is relatively new in the skateboarding scene and claims to offer the same traction and grip as standard tape does without the risk of damaging your skate shoes. It’s made of a special rubber material with a non-slip surface.
Conclusion
Learning how to apply skateboard grip tape is not as difficult as it seems and makes for a satisfying and therapeutic experience. Now that you know how to do it yourself, you can replace your torn, worn-out grip tape in a snap!
Simply follow the steps detailed in this guide and re-grip your deck as needed to maintain traction and stability, ensuring your safety at all times. If you found this tutorial useful, don’t forget to share it with other skateboarding fans who could use some help too.
If you have any comments or suggestions, feel free to sound them off. We’d love to hear from you!

I am Michael, and I have been enjoying this fun sport for seven years. And nothing is better than having a community to share our passion for those thrilling tricks. I am ready to tell you all I know about skateboarding, showing you how to choose a good board and trick to start and how the practice goes. Stay tuned!