Upgrading your skateboard is as important as leveling up your skills. You don’t want to set your board aside after you feel done with it. One thing that makes skateboard rides more fulfilling is a set of accessories that fit your deck.
And to achieve it, you need to know how to measure a skateboard. That way, you’ll get point-to-point dimensions, enabling you to prepare the accessories at their appropriate sizes.
Here are a few steps you have to remember when measuring a skateboard.
- Measure the board width
- Take the deck’s length
- Secure distance between the inner bolt holes
Table of Contents
What You Will Need
Before heading to the store to buy the accessories you want, secure the following items to obtain exact skateboard measurements.
- Your skateboard
Select the ones you want to upgrade first. You may want to improve all your boards at home, but measuring all your skateboards in one setting could leave you confused and spending on the wrong accessories.
A pro tip: label each deck subject to upgrade with numbers, letters, or any character easy to identify. Next, list all these skateboard codes along their dimensions in one sheet. That way, you will have to do less recalling, and you get to buy their parts accurately.
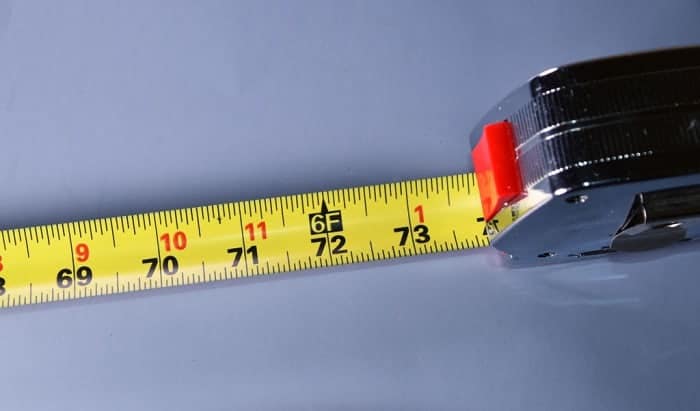
- A measuring tape
The best way to confirm that your skateboard measures 31″ is by using a measuring tape. However, take note that not all measuring ropes are accurate. Also, not all of these strips have the same measuring unit.
Thus, the best way to get an exact skateboard size is through availing of two or more different brands of measuring tools. It may sound silly for some, but the truth is there are slight differences among measuring tapes in the market. Besides, buying more than one piece of this tool won’t cost more than skateboard additions of the wrong size.
- A decent working space
A curvy or unstable working station can cause measurement issues. The best place to measure your skateboard is on a flat surface free of any object other than the ones you need, like the measuring tapes and your skateboard.
Ensure that the surface you work on is not too rough nor too slippery. Coarse surfaces can cause scratches to your deck, and a polished one can make your deck unstable. It would be better to have a smooth cloth cover to keep your deck steady and make your workstation look neat.
- T-tool
Don’t ever rush measuring your skateboard deck by not cleaning it from all its parts. One of the things you have to do to begin taking your skateboard size is by removing its trucks. And the best equipment to use is the famous T-tool.
This device works on the mechanics of your skateboard’s wheels, hardware, and trucks. Most T-tools in the market come with multi-sized sockets, an Allen-head screwdriver, and a slide-out Philips screwdriver. Be sure to have a good quality T-tool to deal with your skateboard’s parts anytime you want.
Step-by-Step Guide
Measuring a skateboard is such an easy task. But to be sure you’re not missing out on any part of the process, here’s a detailed discussion of the things you need to accomplish.
Step 1: Preparation
Don’t just pull your tape out and lay it on your deck. Prepare all the things you need first. Place them on your workstation or anywhere within your reach. That way, you’ll have access to all of these, and you will make your measuring task efficient. By preparing all the accessories and tools you need, you will also identify whatever is missing.
Step 2: Removing the trucks
Grab your T-tool and begin loosening the bolts and nuts on your skateboard. Be careful not to damage the female thread on your deck to keep the screws firmly fitted upon reinstallation.
Put your bolts and nuts in one location because you don’t want to lose some and buy a new set of bolts. Removing your PU wheels is an optional step, but it’s also advisable should you want complete cleaning on your skateboard.
Step 3: Measuring it
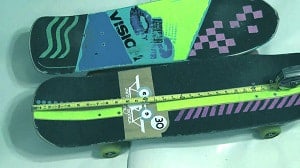
Place your skateboard on your working table with the stepping side facing up. Begin measuring the width of the skateboard by finding the widest part of the deck.
Next, take the deck’s length from the nose to the tail. Note that it should only be a tip-to-tip measurement procedure knowing that skateboard decks come with concave designs. So, don’t let the rope pass through the deck’s shape.
Lastly, take the distance between the front and back bolts close to the deck’s center.
Step 4: Master the process
Repeat the same procedures for each skateboard. It’s best to apply the pro tip I have shared, especially if you have plenty of skateboards to upgrade. That way, you can keep an eye on your skateboards. Also, you get to save yourself from spending too much coming from the wrong set of accessories.
Conclusion
Did you have fun studying this tutorial? It’s about time that you execute this process to give your skateboard the improvement it needs. If you know how to measure a skateboard, you’ll land on the accessories fitting perfectly to it. Thus, always remember the things I have shared to keep you guided throughout.
Know your skateboard more before giving it a new look. Do you like this article? Drop your thoughts in the comments section.

I am Michael, and I have been enjoying this fun sport for seven years. And nothing is better than having a community to share our passion for those thrilling tricks. I am ready to tell you all I know about skateboarding, showing you how to choose a good board and trick to start and how the practice goes. Stay tuned!


