

A skateboarder’s day goes beyond finishing ramps or cruising for hours. Before and after each skateboard ride is a series of check-ups, maintenance measures, and changes of parts, sometimes. That way, the board functions better and longer.
And if we assess which part is most integral to the skateboard’s speed, we’ll find the wheels and their interiors. So, let’s learn how to lube skateboard bearings and wheels to ensure smooth and efficient rides. Take note of the core procedures:
- Disassembling the wheels
- Cleaning the bearings
- Lubricating the bearings
Table of Contents
What You Will Need
1. Skateboard hardware
To lube skateboard wheels, we need a T-tool by our side. This hardware consists of an Allen wrench, a screwdriver head, a bearing remover, and other ends that may fit.
2. Cleaning tools
- Safety pin or any sharp object – This small tool is necessary to pop out the shield of the bearings.
- Liquid cleaning agent – The best agent to clean these wheel cores will be alcohol.
- Dry cloth
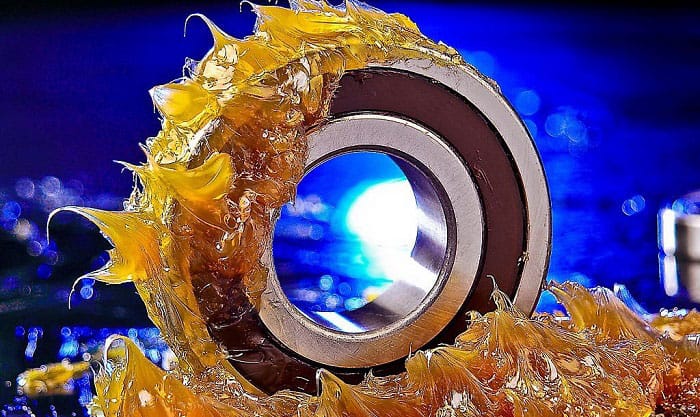
3. Skateboard bearings lubricant
- Bones speed cream – This brand is more on the rust-repellent side. Bones lubricant has low viscosity and reduces friction on the bearings.
- Tri-Flow Superior Lubricant – Tri-Flow is skateboard bearings lube that survives a wide temperature range and inhibits the presence of moisture on your wheel cores.
- Liberty oil – A cost-efficient bottle of lubricant comes with an 18-gauge steel needle.
You can check this guide to find the most suitable lubricant for your skateboard bearing here!
How to Lubricate Skateboard Bearings
Now that we have all the things we need, it’s time to give our bearings an overhaul. We’ll add a few steps to ensure the wheel cores will get the best of each lube drop.
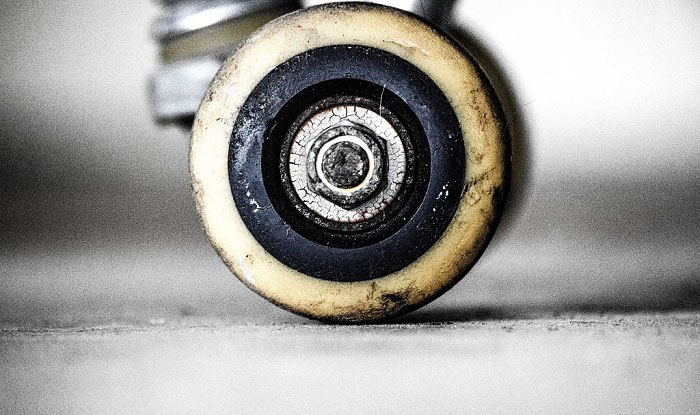
Step 1: Disassembling the wheels
We can’t get to each bearing unless we remove our wheels off the axles. To do that, unpin the axle nuts using your T-tool.
Be sure to set them aside in one location with the washers and other small hardware.
Next, slide the wheels out with the axle’s tip clinging to one bearing.
Once the axle catches the bearing’s body, tilt the wheel to the side as the axle pin locks the wheel core. By then, the ball bearing stays on the axle.
Do this step with all the wheel cores so you won’t need additional tools.
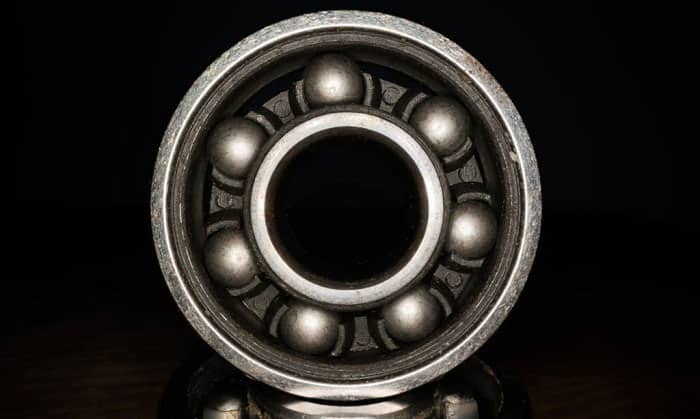
Step 2: Cleaning the bearings
After separating the bearings from the PU rollers, we’ll start to remove the bearing shields.
Using the sharp object you have, snap the flat round shields covering each side of the bearing. Make sure you don’t push the pin too hard as it may cause the shield to deform.
After which, soak the uncapped bearings in the alcohol solution you have. Try shaking or turning the deep dish in a circular motion with the alcohol and wheel cores.
Once the dirt is out, you may pull them out of the solution and dry them on the cloth.
Step 3: Lubricating the bearings
As discussed, your lubing oil varies on your desired results and preference. But for a smooth discussion, let’s settle with the Bones Speed Cream as we grease skateboard bearings.
Start by pointing the bottle’s nozzle in one of the pockets between the balls.
Drip 2 drops in different locations, and using your finger, spread the substance evenly.
Then, put the shields back and seal the sides with your greasy finger.
Step 4: Re-installing the wheels
Finally, to assess whether the process is effective, we’ll have to give these rollers a test ride.
But before that, we’ll install the bearings back to the PU wheels first. This process is almost like the reverse of what we did during dismantling.
Next, let’s slide these rollers down to the axles. From there, grab the washers and slide them after the wheels.
Lock these parts using the axle nuts and tighten them with your T-tool.
This step is optional, but if you want to be pretty sure and ready, try riding your skateboard on the road as if you got a new set of bearings. By then, you should get a much smoother ride.
Power Tips for Lubing Skateboard Bearings
While applying lubrication is an easy task for many, it may still entail risks that you’re not doing it the right way. So, try to learn from these tips to pull yourself out of the losing end.
- Learn about bearing free space. These figures will help you gauge how much lube to put in accurately.
- The good news is these numbers are available almost everywhere through published data, equations, and reference charts.
- Most bearings come pre-coated with anti-corrosion substances or oil layers. If your lubricant isn’t compatible with these, you’ll have to clean the wheel cores thoroughly from these substances before applying.
- Never over-apply lubrication on the bearings. It will cause internal friction and overheating.
- On the other hand, applying too little lube will wear out these parts quickly.
- You can’t be lubing your bearings when they’re in perfect running condition. The best way to preserve your wheel cores is by monitoring their performance. By then, you’ll know when to apply lubrication.
- Use appropriate ultrasound instruments. Not everyone has probably heard of this device.
But if you did, find an ultrasound that gives live data of decibel levels. That way, you’ll have a guide on how much grease to apply to the bearings.
These tips are beyond optional. They can be crucial to your skateboard’s performance and lifespan. So, try to consider these as you progress with your skateboard maintenance skills.
Conclusion
Caring for your skateboard is a habit. And the more you do these things, the more you understand the tendencies of skateboards and their parts. So, you’ll know what needs repair, maintenance, or replacement.
Like knowing how to lube skateboard bearings and wheels, other protective measures done with your skateboards should have a sufficient reference.
And from this tutorial, I hope you keep the tips I have shared with you to advance your skill in this aspect.

Hi, I am Charles Harris. I opened this site to write as much as I can about my biggest passion – skateboarding!
I started as a clumsy yet passionate rookie 10 years ago to now a still passionate yet much better skateboarder! But I have to tell you, the whole journey has always been fun and rewarding, indeed not without hardship.