


Sometimes, skateboards are more worthy of display than being ridden because of their aesthetics. However, that’s not the primary purpose we’re getting one. And since regular use wears these boards over time, we can’t help but feel sad about their graphics fading out.
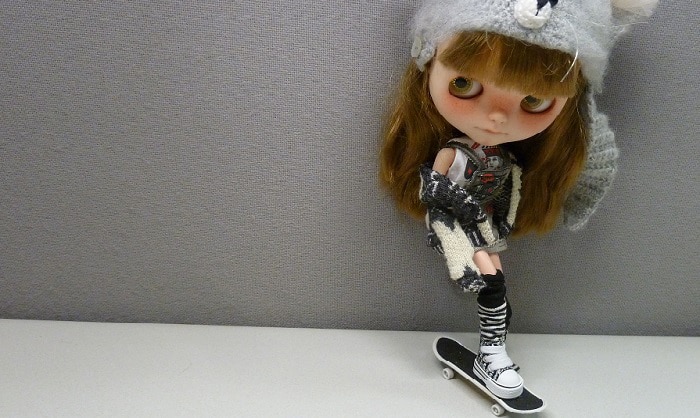
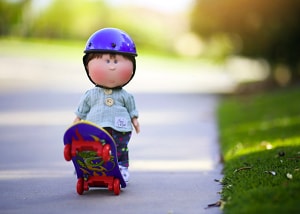
If you feel the same, we have a budget-friendly move for you, making mini versions. Today, we’ll learn how to make a doll skateboard. That way, we can still ride our favorite boards while keeping a neat copy of them at home.
Table of Contents
What to Prepare
We will not be dealing with hardware or construction tools in this tutorial. Instead, we’ll work more with art pieces and crafts. So, let’s look at the things we need per skateboard part.
1. Deck
- Recycled paperboard for the deck’s thickness
- Printable template for the shape
- Printed design for the bottom finishing touch
- Sandpaper as grip tape
- Paper glue to stick the layers
- Ruler to raise the nose and tail
2. Trucks and wheels
- Pony beads as urethane wheels
- Toothpicks for truck bodies
- Coffee straws for truck hangers
- Acrylic paint to finish
3. Other tools
- Scissors
- Pencils and markers
- Grit file to refine edges
Steps to Making a Miniature Skateboard

Perhaps, you now have an idea of how we will make the mini skateboard. Let’s get into the details through the following steps.
Step 1: Making the deck
Note that we will make a classic popsicle-shaped skateboard in this tutorial.
So, get your skateboard printable template. Others don’t depend on printables and sketch their layouts, and that’s fine.
- Using your scissor, cut through the drawing or template you have. Keep the shape-cutting smooth, so the output also comes out fine.
- Trace the template over the paperboard. Try to make as many layouts as you want, as these resemble the maple layers of a real skateboard deck.
- After tracing, cut around five skateboard deck layouts off the paperboard. Stack them and glue them together one layer after another.
And before the paper deck dries out, grab your ruler and shape the nose and tail like that of a real skate deck.
- Use a grit file to refine the edges.
Step 2: Making the trucks

- Cut a piece of paperboard to the size of a pinky nail.
- Put a hole on it using a sharp object and pull a toothpick through said hole. Let at least a thick portion of the toothpick’s body fit into the hole. Note that the small paperboard divides the toothpick near the sharp tip.
- Put some glue on the cardboard near the tip you just inserted. Remove the long part of the toothpick, leaving a portion a tiny bit taller than the paper glue applied.
- Immediately, put a pony bead on the cut part of the toothpick. Fill the top of the bead with glue and let it dry.
- Cut a thin ring off a coffee straw and fix it beside the bead you glued. Next, cut another toothpick as long as the deck’s width.
- Slide two pony beads and a coffee straw into the toothpick. Snap off the excess straw at the end of the stick. By then, the toothpick will have the same length as the combined beads and straw.
- Put more glue on the straw ring installed on the small paperboard, and place the recently cut straw with beads horizontally on the ring’s center.
- You can paint these parts with your desired colors.
Step 3: Attaching the wheels
Suppose your baseplate and hanger have already dried up from paint and glue. You can finally put on the toothpick axles. You may also decide to paint the axles before sliding the beads on.
So, attach a bead to one end of the axle straw. Push the toothpick with the trucks you’ve made through said straw, and follow up with another bead at the end. These beads are your wheels.
Ensure that the wheels rotate through their axles. You can also paint them if you want more style.
Since we need two trucks and pairs of wheels, kindly repeat steps 2 and 3.
Step 4: Finishing
Finalize the truck’s location from the bottom of the deck. Use a sharp object to puncture two small holes in the stacked paperboard.
Put the truck into place using the sharp tip of the toothpick we spared earlier. But don’t glue it yet. Snap whatever length of the stick surpassing the deck’s surface.
Grab your printed deck design and cut through its shape. Glue it to the bottom of the skateboard and let it dry. Install the trucks based on their plotted locations. Glue them up and let them dry.
Using your printable template, trace a layer of sandpaper and cut it. Glue it on the deck’s stepping surface, and your mini skateboard is now good.
Conclusion
As they say, art is a form of relaxation, and so are skateboards for skaters. So, what if we combine both of them in the form of skateboard crafts?
Appreciating your decks doesn’t always require you to hang and not use them. Instead, one of the ways to do it is by learning how to make a doll skateboard. All you need is some creativity and focus on the steps we discussed.
Unleash the artist in you. Using only a few materials, you can finally replicate your favorite boards while riding them.
Read more:

Hi, I am Charles Harris. I opened this site to write as much as I can about my biggest passion – skateboarding!
I started as a clumsy yet passionate rookie 10 years ago to now a still passionate yet much better skateboarder! But I have to tell you, the whole journey has always been fun and rewarding, indeed not without hardship.