

Fingerboard tricks are fun, and no one argues against that. Beyond tossing the fingerboard in the air, we can also enjoy it with an obstacle.
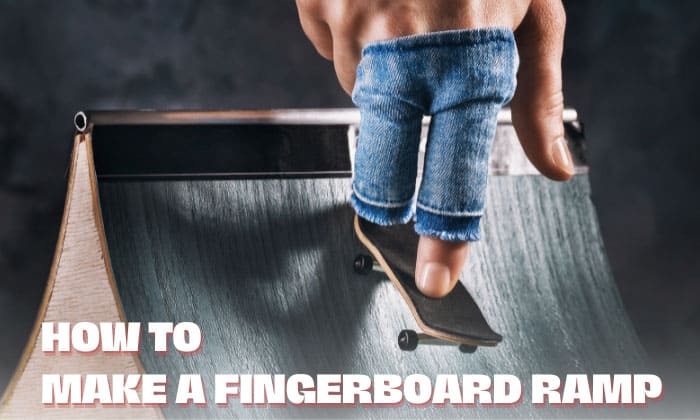
So, are there skate ramps and rails fit for fingerboards? Absolutely! Today, we will learn how to make a fingerboard ramp to give your mini skateboard a whole new avenue of adventure.
Here, we will see what a homemade ramp consists of and how it adds more thrill to your tiny deck on wheels.
Table of Contents
What to Prepare
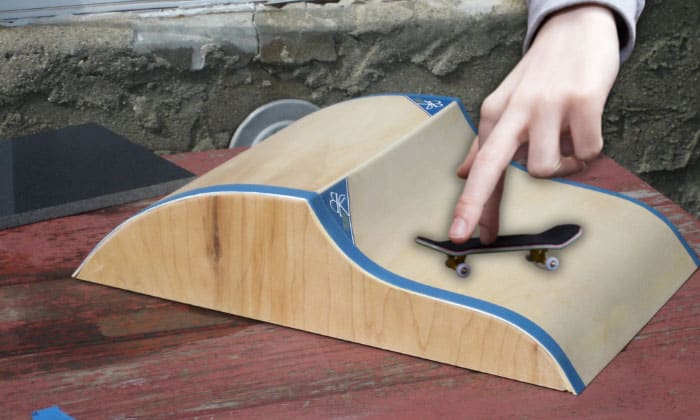
Before you go through your tools or head to the stores, know that we’re making a fingerboard quarter pipe ramp.
It’s one of the fundamental obstacles that prepare us for more complicated projects like a mega ramp fingerboard. So, secure the following.
- A used cereal box – Another beauty of playing with fingerboards is constructing with lightweight materials. And in this tutorial, we will use a cereal box to serve as the body of the ramp.
- Scissors – Expect to cut parts and materials throughout this tutorial. So, prepare a pair of sharp scissors and other stationery cutting tools.
- Rulers and pencils – Precision stays a relevant factor to DIY fingerboard obstacles. We don’t want to ride on a ramp poorly measured. Thus, we also need a ruler and pencils.
- Glue gun and adhesives – Of course, we can’t use nails to fix the parts of a fingerboard ramp out of cardboard. Adhesives like glue and tape will be your best partners here.
- Paint and coloring tools – Paint and other art materials are optional. Nonetheless, using them will give your ramp a better unique look.
Constructing the Fingerboard Ramp
To build a fingerboard ramp, you don’t need to carry pieces of wood and exert strong force to mount one part to another. You can perform this tutorial with only a wide table in front of you. Let’s begin.
Step 1: Cutting the cereal box
The ideal cereal box for cardboard fingerboard ramps has two broad rectangular sides: the front and back. Technically, the distance between the front and back sides is only a few inches. And that represents the box’s thickness.
Note that most cereal boxes have eight flaps for closing, four each on the upper and lower end of the box. So, enclose the upper four flaps and open the ones at the bottom.
Then, make two cuts along the lengths of the box.
Now, we have a front side that looks like a huge flap. Except for this flap and half of the cardboard rectangle opposite it, cut out the rest of the box.
Step 2: Establishing the ramp grounds
Let the recently cut cereal box stand on its side walls and rear side. You will see the beginning shape of a ramp.
By now, you can already imagine how your ramp will look. But we are not fixing things yet. Following the previous instruction, we’ll let the cereal box stand on a platform out of paper cardboard like it’s in its final position.
Take your pencil and trace the ramp’s shape against a separate cardboard.
Once the tracing is complete, you will notice a rectangular shape on the new cardboard. Leave a space of around an inch outside the drawn rectangle and cut through it. It will serve as a ramp template platform.
Step 3: Mounting the ramp
Before we make a tech deck ramps, we should be ready with all the ramp parts. Then, get ready to mount them against our recently cut cardboard.
Begin by mounting the entrance of the ramp against the platform. Ensure all sides align with the rectangular shape we have drawn in the previous step. A piece of tape or some glue will suffice, but we’ll use the latter.
Next, fix the side and back walls of the ramp onto the platform using a glue gun. Still, keep these parts aligned with the drawn perimeters.
Finally, you can grab your art materials and design your new cardboard fingerboard ramp.
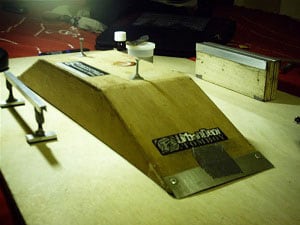
Types of Materials to Make a Fingerboard Ramp

We learned that cardboards are a viable option in making ramps for finger skateboards. So, what other materials can we use? You can try:
- Thin plywood
- Iron
- Concrete
- Steel
With fingerboard park DIY projects, these materials may be stand-alone or combined with other media.
Frequently Asked Questions
What scale are fingerboard ramps?
The best realistic scale for DIY fingerboard ramps would be 1:10 to 1:12. These numbers are ideal for imitating our riding experience with skateboards. Going beyond or below the scale might cause imbalance when translating skateboard to fingerboard tricks.
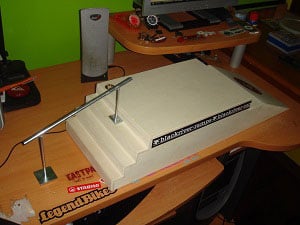
What are Blackriver ramps made of?
We know how Blackriver has become famous for their fingerboards. They don’t only specialize in these mini decks but their obstacles too.
Blackriver makes wooden tech deck ramps and other obstacles with concrete and iron. There are also products incorporated with stoned textures for a unique realistic finish.
Conclusion
Skateboard ramps make skating more fun, and so do fingerboard obstacles. And with both fixtures compatible with being handmade, enjoying them at a lower cost is always possible. All we need are the appropriate tools and materials to come up with a reliable and functional ramp.
So, now that you know how to make a fingerboard ramp, riding your mini decks will no longer feel boring. The steps are easy, and the tools are likely available from your end immediately.
It’s time to design your new cardboard ramp and add more fun to your fingerboards.
Read next:

Hi, I am Charles Harris. I opened this site to write as much as I can about my biggest passion – skateboarding!
I started as a clumsy yet passionate rookie 10 years ago to now a still passionate yet much better skateboarder! But I have to tell you, the whole journey has always been fun and rewarding, indeed not without hardship.