

Perhaps, skateboarding is one of the few sports with a piece of equipment you can assemble yourself. All you need is the appropriate tools and parts, and you’re good to go.
Fingerboards may not work like skateboards in climbing hills and ramps, but they’re still fun to use. Can you also create a fingerboard your way? Yes!
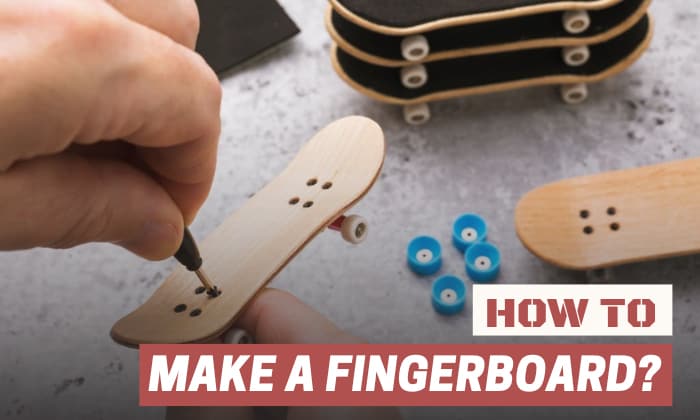
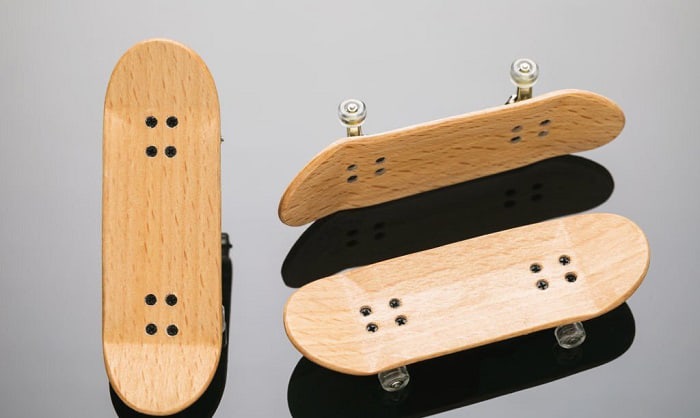
Today, we’ll learn how to make a fingerboard! And at the end of this tutorial, you’ll be able to make your own tech decks and have fun with them.
Table of Contents
What to Prepare
We can make a fingerboard out of school supplies. But note that we’re using wood as the primary material in this tutorial to craft a more realistic and skateboard-like fingerboard. Here’s a complete list of the things we need.
- 0.6mm thick wood veneers – These layers will serve as the sheets composing the fingerboard deck. You may have them already cut or not, but each layer’s dimensions should ideally be 36mm by 115mm.
- Fingerboard mold – Will cheap fingerboard molds do? Sure, if they hold the wood well. So, look for a clamp to lock the parts firmly and baking paper to prevent the wooden structure from being stuck on the mold.
- Wood glue – Wood glue is the best adhesive to use with homemade tech decks.
- Stationery tools – We still need a few cuttings and measurements. So, ensure you have a pencil, a cutting knife, and colored markers to design your board.
- Sanding tools – We need a bench sander and sanding paper to smoothen and perfect the deck’s shape later.
- Trucks and wheels – The fingerboard will not move without the trucks and rollers. Don’t worry. You can find these parts in many physical and online stores, including other relevant tools.
Making Wooden Fingerboards
Since fingerboard components are small, we should be more careful and precise from the start to the end of this process. Make a fingerboard easy to fabricate with the following steps.
Step 1: Assembling the veneers
As mentioned, you may have the deck’s layers already cut. But if you haven’t, follow the dimensions stated in the requirements.
Begin by applying sufficient wood glue to one of the layers. For better strength, your wood veneers should have each layer’s grain pattern 90° different from the preceding and succeeding sheets.
So, follow the sequence with each veneer of a different grain pattern. Glue and stack until all layers are attached.
Step 2: Forming the deck
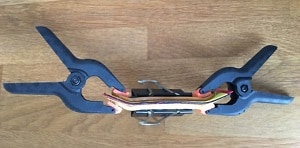
In this step, we’ll use the mold to shape the deck. Whether you use a metal fingerboard mold or other types, it won’t matter as long as it holds tightly.
So, take two pieces of baking paper. Sandwich the newly glued wooden veneers between them.
Why do we need to do this step? The deck might stick to the fingerboard shaper because of dripping adhesive or other reasons. Thus, we should ensure we can pull the deck off the mold conveniently once it’s dry.
Lock your newly glued deck using a clamp. We are not particular as to which clamp to use. As long as it locks the mold firmly until the deck is dry, it’s good.
Step 3: Laying out
The fingerboard’s role is to form the deck’s concavity and tail angles.
Once dry, the mold will leave an impression on the lamination of the wood fingerboard deck. At this point, remove the baking paper. Follow and trace the impression using your pencil to make cutting the deck shape easy.
The key to this step is to allow the deck to dry in enough time. Otherwise, we’ll compromise its strength.
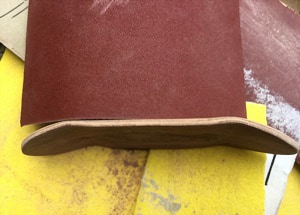
Step 4: Shaping the fingerboard
We are now down to cutting the excess wood outside of the silhouette we drew. So, take your bench sander, and we’ll run the glued veneers through it.
Begin by sliding the deck against the spinning sander. You won’t get your desired shape instantly. So, keep passing the stacked veneers on the machine until you completely trim the parts outside of the skateboard layout.
Grab some sanding paper (around 240 to 600 grit) and smoothen the surfaces and edges of the deck.
Step 5: Drilling the truck holes
What makes fingerboards fun to assemble is even the tiniest skateboard details also have their miniature versions, such as the trucks and bolts. Let’s make some room for these parts.
Take a power drill with a bit slightly thicker than the fingerboard. Drill a total of eight bolt holes, four for each truck of the fingerboard.
Widen the bolt holes using a thicker drill bit.
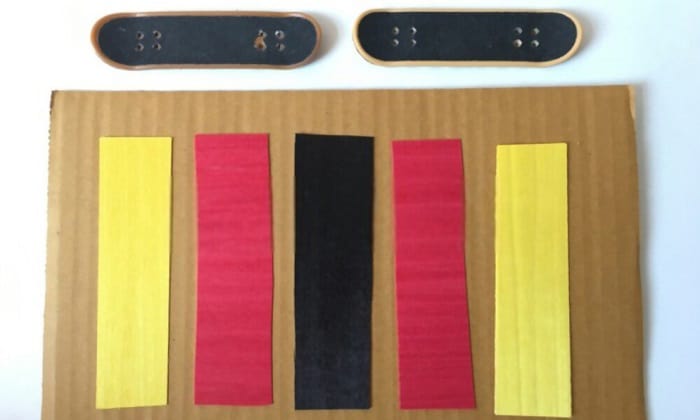
Step 6: Apply grip tape
While fingers are less like to slip off a fingerboard, putting grip tape on the stepping surface gives the small skateboard a more realistic finish.
If you don’t have excess grip tape at home, take a piece of unused sandpaper from the sanding tools you prepared. Stick the gritty layer on the deck’s stepping surface.
Use a paper clip or stationery to hold the grip tape against the deck until the adhesion is dry. Once done, remove excess grip tape off the deck’s edges using a cutting knife.
Friendly tip: You can use Tung oil or any similar oil to grease the deck lightly and give it a more classic finish. You may also want to use colorful art materials to draw visual graphics at the bottom of the board.
Step 7: Install the trucks and wheels.
Now that the deck is ready, it’s time to fix the wheels and trucks on it.
Begin by poking holes in the grip tape where the truck bolts will sit. Push four screws through the four bolt holes on the stepping surface of the deck.
Flip the board and slide the truck into place, aligning its holes to the bolts sticking out. Hold the truck as you flip the board again. Tighten each screw until it sits firmly against the deck.
Repeat the same process with the remaining truck and bolts.
Finally, you have a fingerboard. You’re ready to jump off a fingerboard ramp and enjoy skateboarding on mini boards without visiting the skate park.
Related: Steps to Make a Fingerboard Ramp Easily.
Frequently Asked Questions
What wood do you use to make a fingerboard?
Some of the wood types you can use for your fingerboard are maple and rosewood. As maple is common in regular skateboards, we can be confident the fingerboard will stay durable and poppy.
On the other hand, other skaters use walnut, bubinga, or elm for added density. No matter the wood you use, what’s significant is the appropriate thickness and dimensions of the board.
Why is fingerboard so expensive?
For miniature skateboards, fingerboards are unexpectedly pricey. But these items aren’t simple school crafty projects.
When seeing a costly fingerboard, expect its trucks, wheels, and deck to be of premium quality. Often, these fingerboards use Blackriver trucks and bearing finger skate wheels. Also, many brands invest in high-quality five-ply fingerboard wooden decks for superior durability.
Ultimately, it’s how manufacturers conceptualize their fingerboards to stand out in several aspects.
What are fingerboards made of?
Professionally, a fingerboard company uses quality wood in making finger skate decks. Others make a paper finger board from six layers of thick cardboard or paper. But note that a paper techdeck could be inferior in structure compared to wooden designs.
As for the trucks, most brands use metal poured into a mold.
Conclusion
Making a fingerboard entails attention to dimensions, details, and the provision of appropriate materials. If we want a manufacturer-grade fingerboard, we should ensure that each step we perform has the right amount of intricacy.
So, now that you know how to make a fingerboard, enjoying mini skateboards with your fingers is finally possible. There’s no need to buy a complete fingerboard as long as we have the right tools and knowledge to create it.
Remember to glue the veneers well, shape the board, and mount the trucks firmly. Eventually, you’ll have a quality finger skate at a friendly cost.

Hi, I am Charles Harris. I opened this site to write as much as I can about my biggest passion – skateboarding!
I started as a clumsy yet passionate rookie 10 years ago to now a still passionate yet much better skateboarder! But I have to tell you, the whole journey has always been fun and rewarding, indeed not without hardship.