

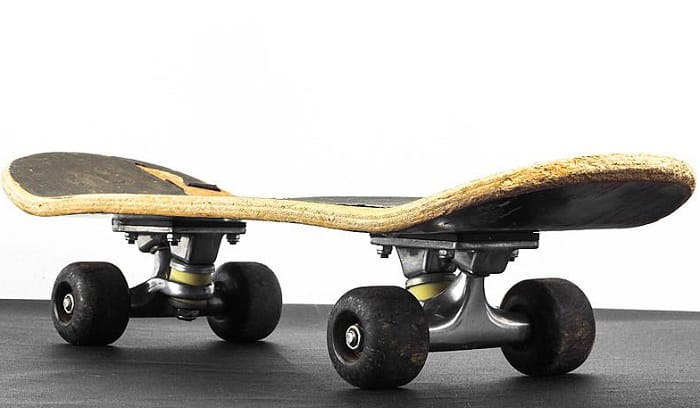
When assessing a skateboard’s durability, we check its wooden deck, followed by the graphics, trucks, and wheels. And if we break or damage one of these parts, we’d likely resort to buying new.
Let’s say you broke your deck. Will purchasing from a skate shop solve the problem? Yes! But did you know you can save money by making a new deck out of plywood, a material you probably have at home?
If not, let me teach you how to make a skateboard out of plywood and help you decide if buying is the best solution.
Table of Contents
What You Need for This DIY Project
In this tutorial, not having a factory-grade piece of equipment is fine. We’re not making a hundred skateboards. But at the minimum, we should have the following.
- Plywood – Skateboards vary in thickness. But our goal in this tutorial is to make a 10mm deck. So, prepare seven pieces of 1/17″ DIY skateboard veneer plywood at dimensions 30″ x 10″.
Two of the seven should be of the best quality, serving as the face of the board. The other two would be the crossband, and the last three are the core sheets.
- Wood glue – We will not make skateboard decks from a single piece of wood only. We will attach thin longboard wood sheets together, and wood glue would be the best adhesive to use.
- A skateboard mold – Should you plan to make a few more skateboards soon, buying a skateboard mold could be reasonable. Otherwise, you can prepare two equally shaped and sized skateboard decks similar to your planned form.
- Vacuum bag – The vacuum bag will serve as the treatment space of the deck before you can cut its shape. Also, prepare a piece of mesh to allow better air suction.
- Pencils and markers
- Jigsaw and drill – These pieces of equipment will be vital in shaping the skateboard. Additionally, we’ll also need them for other cuts on the skateboard, like truck bolt holes.
- Trucks and wheels
- Grip tape – It may look like a thin piece of paper, but the grip tape improves safety on the skateboard. So, find a skateboard-grade grip sheet to finish the stepping surface.
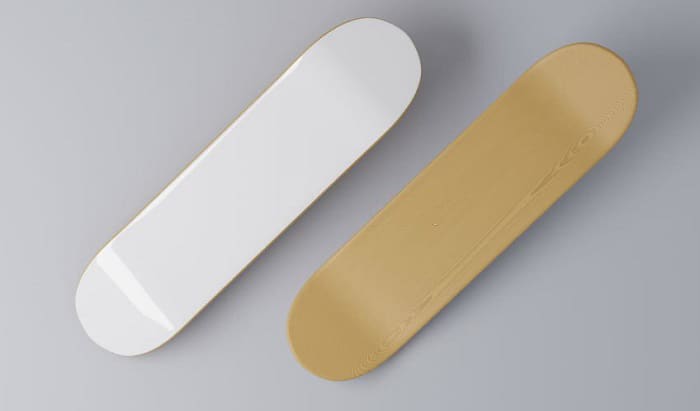
Creating the Skateboard Deck
Perhaps, you expect the process to be overwhelming because of the needed tools and materials or because we’ll start from scratch. But don’t worry. We’ll help you do each of these steps smoothly.
Step 1: Gluing the skateboard plywood layers
Take note of this sequence when gluing the skateboard’s layers.
- Face
- Core
- Crossband
- Core
- Crossband
- Core
- Face
Begin by placing one of the Face sheets on a flat area. Apply wood glue to the wood’s surface. For better results, use a paint roller for even adhesive application.
Next, apply the same amount of wood glue to one surface of one of the three Core layers. Stick both layers with the glued sides facing each other. Now, you have the topmost Face and Core glued.
Flip the recently glued layers with the Core facing up. Apply wood glue and repeat the same process on the Crossband. Press both glued sections together firmly and continue gluing until you get all layers.
Always remember that in this step, only the Face layers should have one side coated with wood glue. The rest of the five layers should have adhesive on both sides when stacking.
Step 2: Molding the stacked plywood
In the best scenario, let’s say you got a friend to lend you a mold to build a skateboard deck in your desired shape. So, after gluing the seven wood layers, it’s time to press them on the mold.
Ensure the deck sits against the skateboard shaper in correct alignment. This way, you get the whole stacked plywood in shape.
On the other hand, if without a press, do the same process using the two identical skateboards we asked you to prepare.
Whether using a mold or a pair of skateboards, surround the structure with tape to prevent the deck from falling off.
Next, seal the DIY skateboard deck inside a vacuum bag. Put mesh against the tip of the air suction. Expel air inside the bag until the structure is air-less. Leave the mold and wood inside the plastic for at least 8 hours to form.
Because air can penetrate halfway through the deck treatment, check the vacuum bag every 2-3 hours for possible air build-up. If necessary, pump the air out again.
Step 3: Cutting the deck
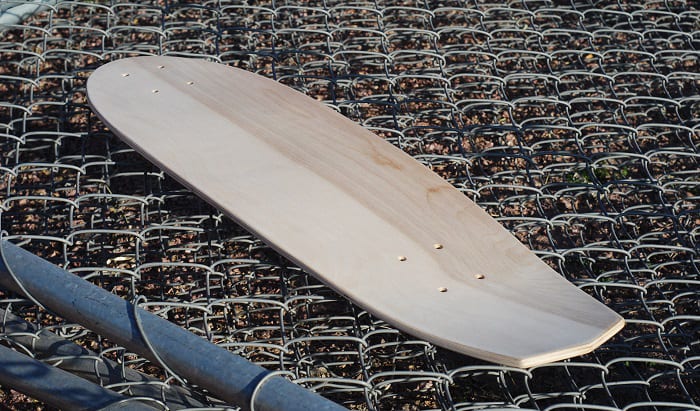
After at least 8 hours of drying the wood glue and forming the wavy profile of the home made skateboard deck, it’s time to pull it out of the vacuum bag. Remove the tape you used to secure the mold pieces and the deck, and pull the latter out.
Grab a skateboard deck whose shape you want to replicate. Take your pencil and trace the shape onto the pressed layers of plywood.
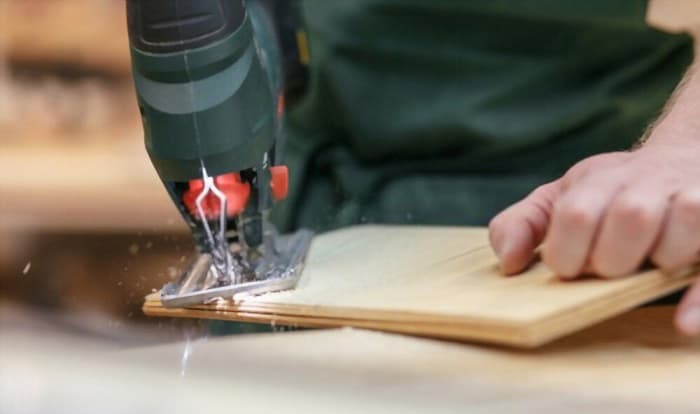
Get your jigsaw and start cutting the shape off the stacked wood. There’s no need to rush in this step. So, be sure to go over the sides of the traced shape slowly and smoothly.
Suppose you got the perfect deck shape from the jigsaw. Now, let’s sand the edges of the newly-cut board. If you want to put DIY cool skateboard designs on the deck, you may do so after the sanding process.
Next, let’s drill the truck bolt holes on your new deck. Grab a skateboard deck similar to your new board to serve as your template. Lay it over the glued plywood and poke holes through the new skateboard using a drill.
Step 4: Applying the grip tape
We now have our skateboard deck ready and polished. At this point, grab your grip tape, trucks, and wheels.
Begin by installing the grip tape. Plot the tape’s position over the deck to ensure it covers the whole surface. Peel the non-adhesive side of the sheet as you lay it flat against the deck’s stepping surface.
Keep pulling the non-adhesive layer as you press the grip tape over the deck. As soon as you finish the whole surface, fold the excess part of the sheet at the edge.
Get a cutter and cut through the excess grip tape gently.
Step 5: Install the trucks and wheels.
Get a screwdriver or equivalent tool to poke holes through the truck bolt slots and the newly installed grip tape. After the holes become visible, slide the truck bolts through the deck.
Flip the deck with the grip tape facing down as you attach the truck. Lock it using the bolt nuts, and repeat the same process to the other truck.
Install the bearings and spacers on each of the wheels. Slide a speed washer through the axle pin, followed by the wheel and another washer. Lock these parts using the axle nut.
When tightening the axle nuts, be sure you don’t squeeze the wheels to keep them rolling smoothly.
Frequently Asked Questions
What kind of plywood do you use for skateboards?
Unfortunately, we can’t always gamble on any wood we find at home. If you have Baltic skateboard ramp plywood or Russian Birch, you’re a step closer to making a quality plywood skateboard.
What wood can you use to make a skateboard?
Besides plywood, we can never forget maple plywood as one of the best skateboard deck materials for beginners and adults. Such wood is of standard because of its quality and performance.
It may not be a type of wood, but bamboo ranks next to the previous materials. Bamboo has exceptional hardness and spring-like qualities, making it responsive as a skateboard deck.
Conclusion
Skateboarding will not always demand you spend money on this and that. Sometimes, all you need is to be resourceful, creative, and patient. In doing so, you’ll see that skills can compensate for some costs.
Finally, now that you know how to make a skateboard out of plywood, creating skateboards from other materials such as cardboard would no longer be that challenging. Just keep an eye on the critical steps to ensure you’re doing the process appropriately.
Get your tools and materials and assemble your new skateboard!

Hi, I am Charles Harris. I opened this site to write as much as I can about my biggest passion – skateboarding!
I started as a clumsy yet passionate rookie 10 years ago to now a still passionate yet much better skateboarder! But I have to tell you, the whole journey has always been fun and rewarding, indeed not without hardship.