

Did you know that you can make your DIY skate rail?
One of a skater’s dreams is to have a small-scale skateboarding rail and ramp, just like most skateparks. The most common obstacle is the rail; skaters tend to do tricks on railings because they’re everywhere.
In this article, I’ll discuss how to make a skateboard rail. The instructions will be easy to follow, and all the materials you’ll need might be in your household, but if that’s not the case, you can hop in the nearest store or do online shopping. Let’s start!

Table of Contents
What Are the Materials, Tools, and Equipment You Will Need?
First, gather all the materials. Below are the items you need to make a rail for skateboarding.
For Full Metal Rail
- Steel Pipe: We recommend you choose a zinc-coated metal pipe to ensure you have an efficient and durable rail to use.
Steel Pipe Size:
- Rail: 72 inches long and has a diameter of 3 inches.
- Legs: 12 inches long and has a diameter of 4 inches.
- Feet: 10.5 inches long and 3 inches wide.
- Welding Machine and Welding Rod: Welding equipment produces heat, which melts steel and allows it to be attached. The external flux coating on welding rods protects the steel from contamination. Also, it stabilizes and enhances the weld quality.
- Pro tip: The E7018 electrode is commonly used for structural steel welding and other thick metals. It’s suitable for your project.
- Welding or Safety Goggles: To protect the eyes from intense heat, UV light, and debris during the welding process.
- Metal Cutting Saw: To cut metal parts, such as pipes.
- Measuring Tape: The measuring tape, for measuring the size and distance. It’s essential to measure the desired length of your rail correctly.
- Pencil: To mark the desired length alongside using the tape measure.
Step-by-Step Guide to How to Build a Skate Rail
The rail’s components will be joined by welding. It’s like planning how you will put your lego together. It might be something that you can accomplish on your own, but if that’s not the case, you can hire a welder or a friend who has experience in welding.
Step 1: Gather supplies
In assembling your homemade skate rail, decide if you’re using circular or square tubing. Then, gather your supplies and let’s start the process.
Step 2: Prepare the railing tube
Measure a 72 inches long pipe with a diameter of 3 inches, then cut it using a metal cutting saw. You will use this tube for the railing.
Step 3: Prepare the leg tubes
Measure a 12 inches long circular or tubular pipe that has a diameter of 4 inches. You will use this for the leg of the skate rail. Make two tubes, as the rail will have two legs.
Step 4: Prepare the feet for the rail
Measure a flat steel bar at 10.5 inches long and 3 inches wide. Do this twice, so you’ll have two feet. Set them aside, and they’ll be used to support the legs of the rail.
Step 5: Mark the feet & position the legs
Mark the feet’s center using a pencil, then place the legs, making sure they are perpendicular to the feet and properly aligned and centered.
Step 6: Weld the legs and the feet together
Then use a welding machine, together with an E7018 welding rod, and carefully weld the legs unto the feet.
Step 7: Attach the rail to the legs
Place the metal rail pipe on the legs and carefully attach them using a welding machine.
Pro tip: You can make one leg higher than the other. It will allow you to have a slanted design.
Now That Your Skating Rail Is Ready, Let’s Try It Out!
Making a rail is not that hard if you follow all the instructions and do not skip any information above. Making your skate rail will also increase your skills in skateboarding, and it will be convenient for you to have a skating rail of your own rather than going to skateparks most of the time.
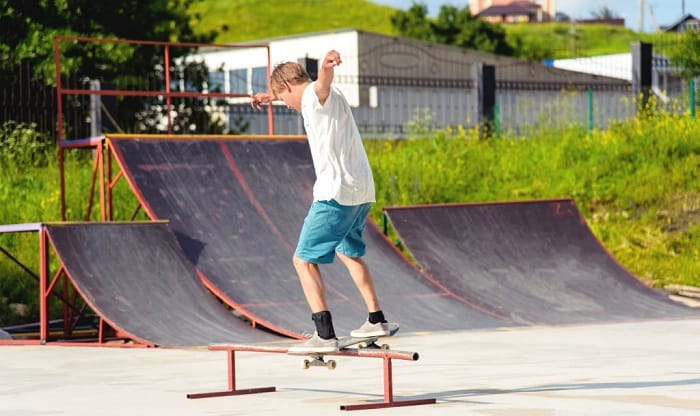
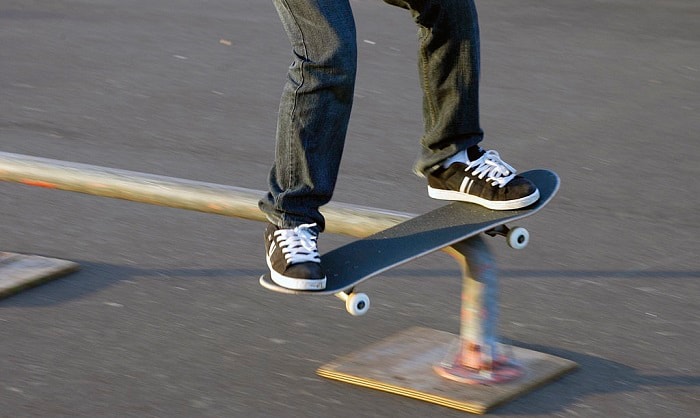
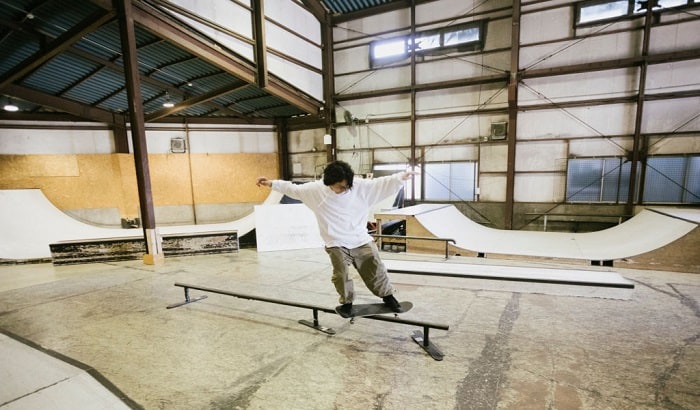
Skate Rail Design
If you’re not satisfied with your rail’s simple design, you may refer to the pictures below that I’ll show you. You may add some curves at the end of your railing, shape it like an arc, or if you want to add a triangular shape, you may do so.
It will take your skating rail to another level, benefit your skill, and give you more challenges in doing your tricks.
Hopefully, you’re able to grasp ideas from the images I have shown above, know what will suit your skateboarding style and what’s convenient for you and your board.
Don’t be afraid to try new tricks or new things in skateboarding. Everything starts with the basics like your DIY skateboard rail; start from a basic rail until you reach a more complex one.
Also, Don’t miss the good skate equipment for the best experience like skateboard grip tapes, skateboard bushings and skateboard decks.
Conclusion
In general, making a skateboard rail is not that complicated, especially if you follow all the procedures that I mentioned before. Remember, before you begin, consider your skating style and technique and ensure that you will build a rail that is suitable to your preferences.
Hopefully, in this article, we gave the answer to your question of how to make a skateboard rail.
If you find this article interesting, please consider sharing this with your friends. Happy skating!

Hi, I am Charles Harris. I opened this site to write as much as I can about my biggest passion – skateboarding!
I started as a clumsy yet passionate rookie 10 years ago to now a still passionate yet much better skateboarder! But I have to tell you, the whole journey has always been fun and rewarding, indeed not without hardship.