

One of the most significant aspects of skateboarding is your comfort and safety during rides. And if up until now you’re still riding with your original grip tapes, you’ve most probably noticed your stability gradually declining.
But don’t worry, there is always a solution to problems like this. Let me show you how to remove grip tape from a skateboard being the first step to changing your board’s stepping surface. But before that, take note of the critical stages we need to consider throughout the process.
- Heating up
- Pulling the grip tape
- Cleaning up
What You Will Need
To take griptape off a skateboard without tears is a joy to see. And to do that, here are a few things we need.
A hair blower
You’re probably thinking about how a hair blower will help replace grip tape. You need to realize that hair blowers can produce heated air that does wonders for your hair. And with heat, things soften.
For your skateboards, it’s not the grip tapes that we need to relax but their adhesive side. Hair blowers have controllable power and temperature, which means we can adjust their effect on the skateboard to the extent that they don’t damage the board or any of its layers.
Single-edge razor blade
We cannot pull a board’s grip tape with our bare hands. Chances are we’ll only rely on raised tape portions, begin pulling them and end up tearing the grip tape. Thus, we need a tool as thin as a razor blade. This object has inclined edges that can penetrate in between the grip tape and the board’s surface.
Take note that only one side of this blade needs to be sharp. Otherwise, you’ll cut yourself when sliding under the grip tape.
A T-tool
No, we will not use the T-tool to remove old grip tape but the skateboard trucks. Once you get into the process of pulling this carbide sheet on your deck, you’ll realize that it needs to be stable. So, we’ll have to take the trucks off your skateboard first to stop the deck from moving elsewhere.
On the other hand, if you don’t feel confident about taking off the trucks of your skateboard, it’s not a problem. But you will have to put your skateboard somewhere the wheels cannot move.
A clean working space
There might be times when your hand will accidentally slip off the edge of the deck while sliding the blades. That means there is a possibility of your razor or hand hitting nearby objects. To eliminate these risks, we need to make sure we’re working away from accident-prone locations. Free your working space from anything unrelated to what you’re doing. Also, allot enough area for your hand not to bump any object around.
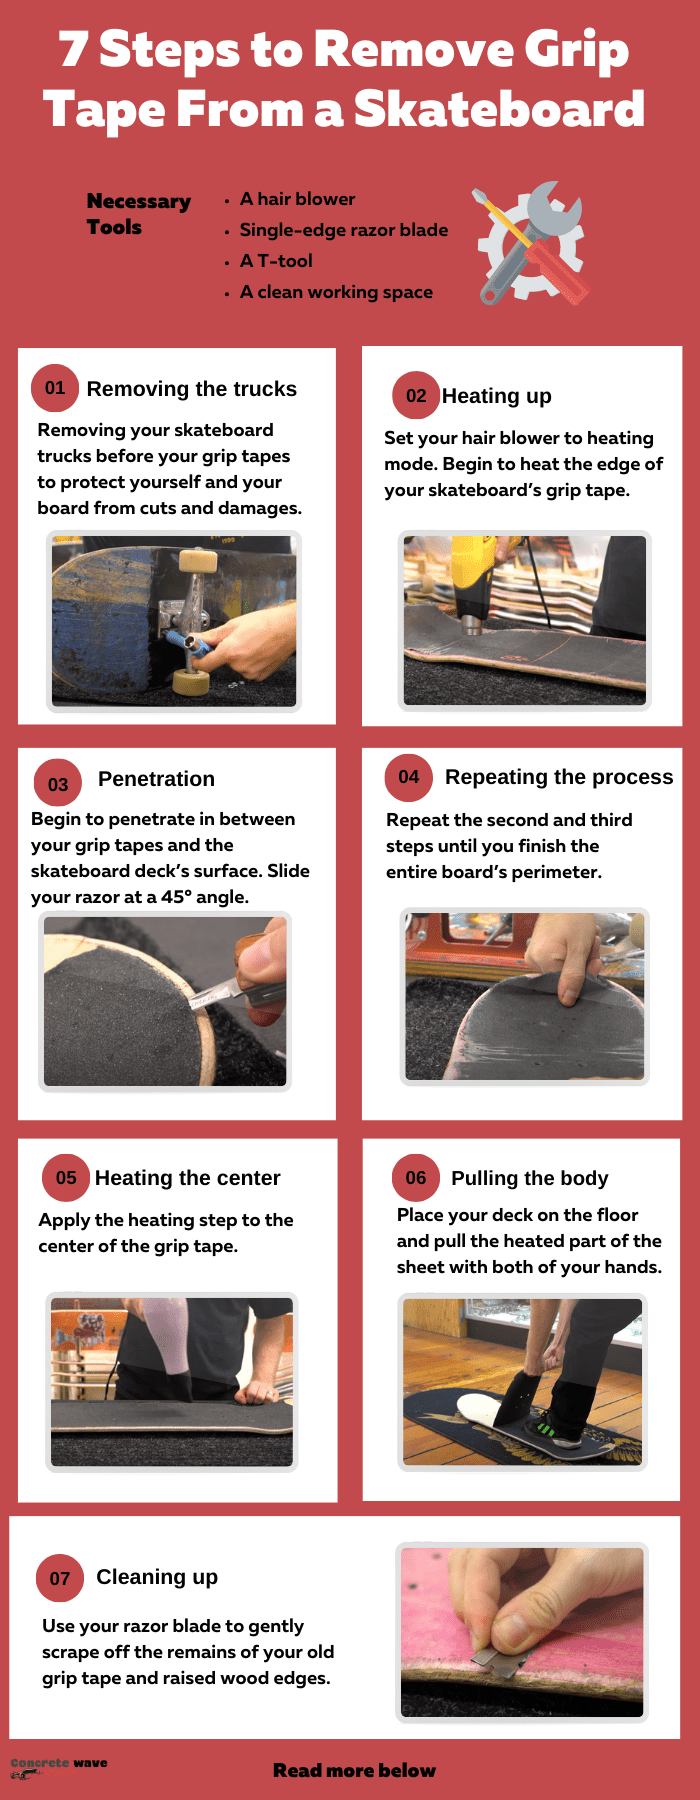
Step-by-Step Guide to Remove Skateboard Grip Tapes
It’ll only take you a few minutes to take off the grip tape. That is if you’re doing it right. So, be sure to enact these steps.
Step 1: Removing the trucks
You will be dealing with a sharp object along the process. So, it’s best to remove your skateboard trucks before your grip tapes. A still skateboard moves nowhere but in front of you.
With this step, you get to protect yourself and your board from cuts and damages. So you will not worry about the skateboard rolling front and back, causing you to lose control of your blades.
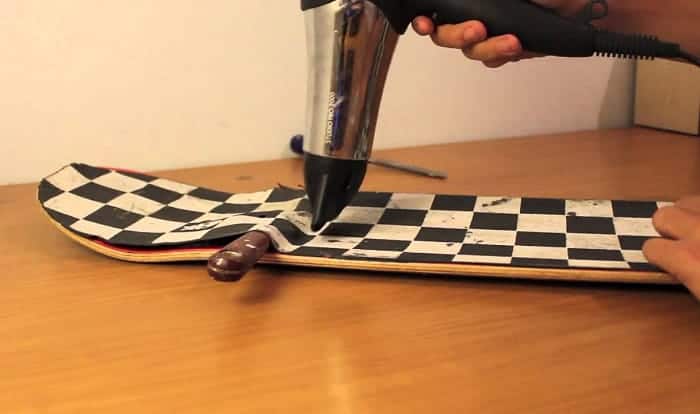
Step 2: Heating up
Set your hair blower to heating mode. Begin to heat the edge of your skateboard’s grip tape. It will soften the adhesives on the sheet. Take note that the heat on the tape’s adhesive can only last for a few seconds. So, you need to do this step on a per-area basis only and follow up with the razor blade.
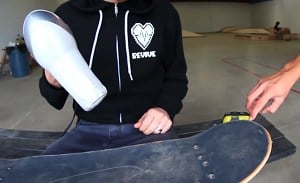
Step 3: Penetration
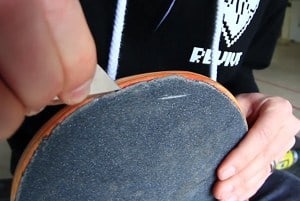
Using your razor blade, begin to penetrate in between your grip tapes and the skateboard deck’s surface. You need not insert the entire blade’s length. Only about half an inch will do. Slide your razor at a 45° angle. Be sure you don’t go too flat because it might cut the grip tape too soon. Sliding the blade too inclined can also leave scratches on your deck.
Step 4: Repeating the process
Repeat the second and third steps until you finish the entire board’s perimeter. That way, it’ll be easy for you later to pull the grip tapes up from any portion of the skateboard deck. Remember that our goal here is to remove the grip tape solid. And one of the best ways to do it is by loosening its edges.
A pro tip: do not force the blade too fast against the adhesives. You might only cut the grip tapes, making your process less efficient when you begin to pull them off.
Step 5: Heating the center
After loosening the tape’s sides, it’s time that you apply the second step with the center of the grip tape. And like softening the edges of the grip tape, it’s also best to do it on a per-area basis. It’s up to you how long you can pull without the adhesives cooling down. But always remember our goal here, which is to remove the tape off full.
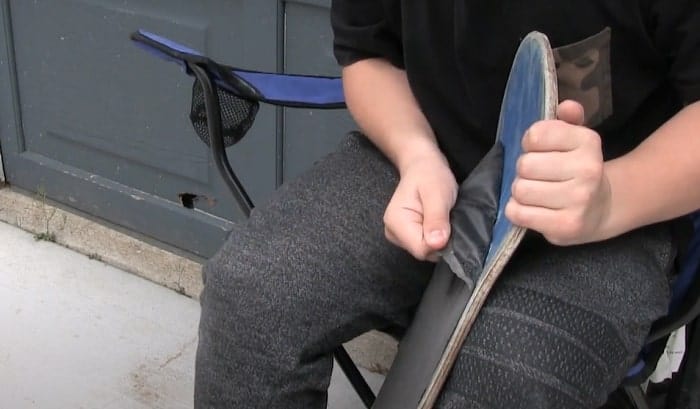
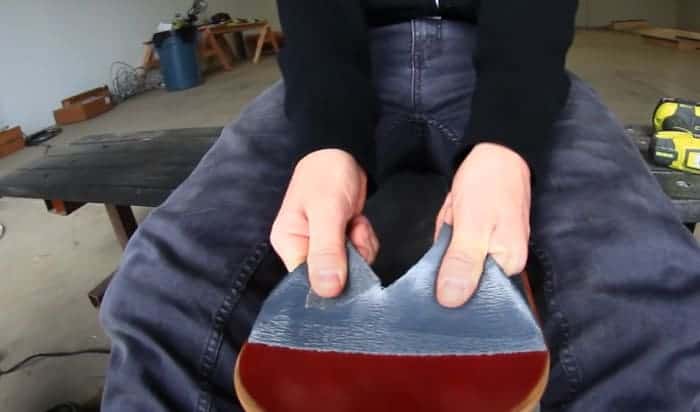
Step 6: Pulling the body
This step requires enough force since you will no longer use the blade in pulling the tape off but your hand this time. Place your deck on the floor and step with your entire weight on it. Be sure the board does not move and that you don’t step on the heated areas. Pull the heated part of the sheet with both of your hands, towards you, and against your body weight.
Next, rotate the deck and step on the bare deck surface. Pull the tape forward after.
Step 7: Cleaning up
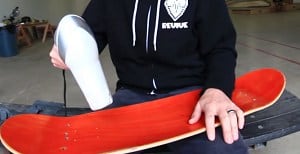
Now that your board’s free from your original grip tapes, it’s time to polish the bare deck. Don’t be too excited about applying your newly bought carbide sheets since we need to be sure they fit snugly on your board.
Use your razor blade, gently scrape off the remains of your old grip tapes, as well as raised wood edges. The goal of this step is to prepare a flat surface for the new grip tape to occupy.
Don’t worry about adhesive remains since you can cover them with your new grip tapes.
Pro Tips
- Heating the grip tape can be crucial in the process. So, be sure about heating these sheets before pulling them to make your job easier.
- Don’t rush the removing grip tape process. You know how satisfying it is to remove a grip tape solid and free from cuts.
- Be careful about pulling somewhere near the truck bolts since the grip tape can begin to tear in that area.
Conclusion
Upskilling in skateboards does not only entail performing more challenging tricks. It also requires your dedication to do repairs and maintenance. That way, you get to maximize your skateboard’s life and ensure quality rides every time.
Learning how to remove grip tape from a skateboard is only one of the ways where your growth as a skateboarder manifests. Remember the concepts I shared with you, and you can deal with grip tapes better by then.
Ride safer and happier. Did you enjoy this article? The comments section is up for your thoughts.

I am Michael, and I have been enjoying this fun sport for seven years. And nothing is better than having a community to share our passion for those thrilling tricks. I am ready to tell you all I know about skateboarding, showing you how to choose a good board and trick to start and how the practice goes. Stay tuned!