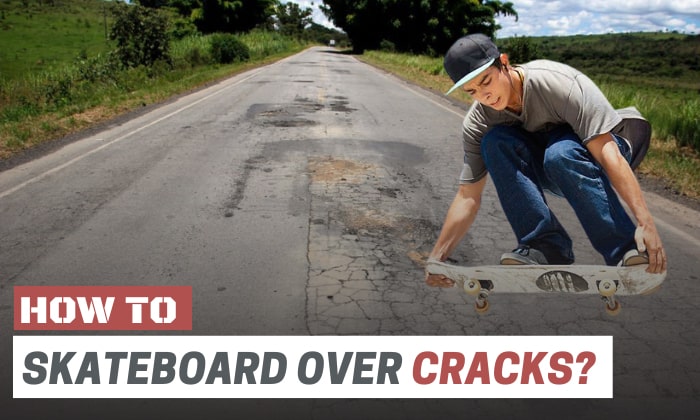
Lucky are those who always find a smooth skating spot. Most of these skaters face less trouble over shaky rides and falling out of balance.
However, at least once in our lives as skateboarders, it’s impossible to keep a clean record of skate rides without falling off the deck because of road cracks. It sounds adverse, but that’s the reality.
But don’t worry. Let me teach you how to skateboard over cracks, so you won’t have to fear these skateboard trail issues and can skate more confidently.
Table of Contents
What You Need
We need utmost care and balance to skate over cracks. Here are some tools that can help us.
- A skateboard for rough roads – Let’s focus more on the wheels as they are the ablest to neutralize cracks on the skating trail. So, use a set of soft, grippy skateboard wheels with a hardness range of 75a to 87a.
- Safety gear – It may be unnecessary for many, but safety equipment can protect the skater from the impact caused by sudden falls off the skateboard. You can use a set of elbow protectors, helmets, knee pads, or wrist guards.
Steps to Skate Over Cracks
Before you ride a skateboard on the sidewalk, remember that the path may not be smooth. That way, you can be vigilant about what happens next. Consider the following steps.
Step 1: Plan your route ahead
It does not necessarily have to be lengthy. You can pick a trail your eyes can see from your starting point. From there, set your goal of finishing the entire length.
By planning your route, you’re also able to establish the right footing, so driving the board in any direction would be easier. Additionally, you’ll attain the best stance and posture to keep your balance as you skateboard on sidewalk cracks.
Step 2: Execute proper footing
Suppose you have already plotted your direction and footing. The next step is to put these concepts to execution. Often, the following description is the ideal foot placement in general skating and skateboard on rough ground.
Begin by placing your dominant or front foot centered nearly over the truck at the nose side of the skateboard. Whether you are a regular or goofy skater, your front foot will have to make two positions; perpendicular and parallel to the deck. Later, you will see why we need to do these.
On the other hand, your back foot should be shoulder-width away from your front. So, it will likely sit near the rear truck.
Step 3: Pushing
Generally, no skateboard moves without an outside force acting on it. So, we start with pushing. As mentioned, your front foot could parallel the deck’s length, with the tip resting on the inner bolt. Meanwhile, your back foot should stay on the ground to assist with the pushing motion.
Pushing is like walking with a skateboard under your dominant foot. So, execute a walking motion with your feet in their respective locations. Begin to push skateboard by moving your back foot forward as you follow with your front on the skateboard.
Once you get the rhythm of pushing, you will know when to kick your rear foot back and avoid interrupting your skateboard’s momentum.
Step 4: Riding through the pavement
Pushing the skateboard gives it momentum. So, what do we do after speeding it up? We shift to another foot placement.
We have already positioned our feet parallel to each other. It’s time that we execute perpendicular footing at this stage.
Once the skateboard gets enough momentum, place your back foot up on the deck perpendicularly and as described in the previous steps. Additionally, rotate your front foot 90° so that it’s parallel to the rear.
Step 5: Braving the cracks
This step is the key to riding on rough skateboard surfaces. How do we ride on a skateboard shaken by road cracks?
First, we bend our knees. Such a gesture will help us take hold of our core. Second, we should lean more on our front foot. That means we shift more weight to the front part of the skateboard rather than the back.
Finally, look ahead and plan your skateboard’s succeeding direction. By then, you can skate longer and farther.
Tips and Warnings for Skateboarding Through the Crack
Skating over cracks is avoidable, but not in cases where you have no option but to brave them. So, consider the following friendly advice as you take on bumpy, cracked skateboard trails.
Ollies are alternatives to a cracked path.
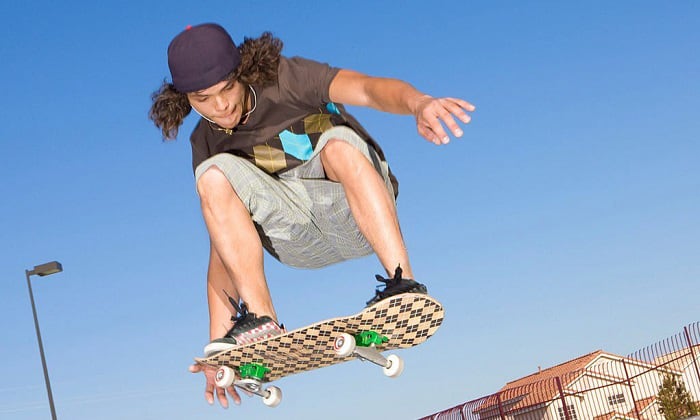
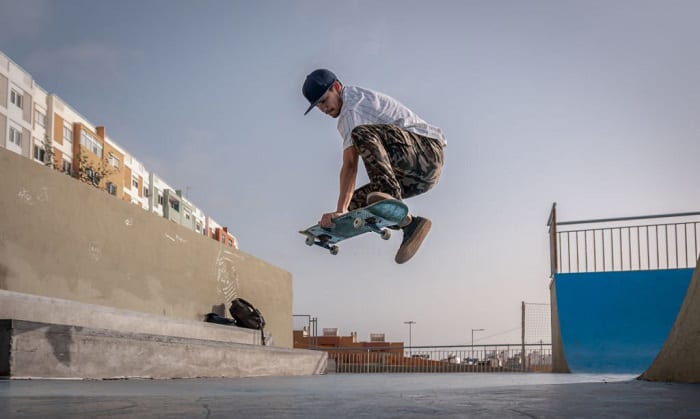
If we can’t change directions when avoiding cracks, one way to counter them is by hopping over them. Ollies are fundamental tricks for beginners. So, most skaters should know how to do them.
When you ollie, ensure to press on the front part of the skateboard, like you do when the board is in motion.
Move around road cracks
If you want a seamless ride and see that the road has occasional cracks, why bother taking your skateboard up a curb with gaps and cracks? Not all streets and roads have notches. So, try to avoid them if you have the chance.
Use an ideal skateboard for riding over road cracks.
As mentioned, the best wheels to go over speed bumps on a skateboard are soft wheels.
Go slowly and smoothly
We are not in a race. Our goal is to get over crack on a skateboard safely. So, keep your speed at 8 to 10 miles per hour. While the numbers are challenging to gauge on a regular skateboard, try to assess if you’re moving too fast or slow.
Glide on downward slopes
Should you enter a downward-sloping cracked road, you’d better avoid skidding. How? Carve on the road. You have two options for this style: leaning inwards and outwards.
When leaning inwards, you press on the tip of your foot. And when you lean outwards, you exert pressure on the heel. The key to carving is your shoulders’ driving support. So, guide your tilts using your shoulders as you complete each carve.
And, of course, never forget to bend your knees to help you stay balanced.
Frequently Asked Questions
How do you fill cracks in a skatepark?
Want to fix skatepark cracks? Here’s what to do.
- Secure the following items
- Bondo filler with hardener
- Hardware spatula
- Masking tape
- Mixing plate, like cardboard
- Place strips of masking tape on the sides of the cracks you want to fill. That way, you don’t spread the filler on other areas.
- Scoop some Bondo filler off the can and place it on the mixing plate. Only take the right amount you need.
- Mix some hardener with the filler based on a proportion indicated in the instructions.
- Grab your spatula and fill in the cracks with enough of the filler mixture. Even the fill out using the flat spoon to level it with the ground.
- Let the mixture dry for 10 to 15 minutes. Once dried up, pull the masking tape off, and it’s ready for skating.
Can you ride a cracked skateboard?
Most likely, but don’t expect it to perform as well as before. But what causes pressure cracks on skateboard? Cracks on skateboards can come from various causes such as wrong landing, exposure to moisture, and more.
So, if you happen to crack your skateboard, you can still have it repaired. However, it will only enable you to ride for a short time.
https://youtu.be/AtflbLXV9Io
Conclusion
Skateboarding is an adventurous and competitive sport. We don’t always ride on a single solid flat ground. Often, we brave ramps, rails, streets, and cracked roads. And with this diversity, riding a skateboard never gets boring.
Now that you know how to skateboard over cracks, you are one step closer to completing various skating trails. Remember the proper footing, pushing, and balancing methods we discussed. Ultimately, keep your eyes on what is ahead so you can prepare.
Be a skateboarder skilled enough to dodge park and road cracks.

Hi, I am Charles Harris. I opened this site to write as much as I can about my biggest passion – skateboarding!
I started as a clumsy yet passionate rookie 10 years ago to now a still passionate yet much better skateboarder! But I have to tell you, the whole journey has always been fun and rewarding, indeed not without hardship.


