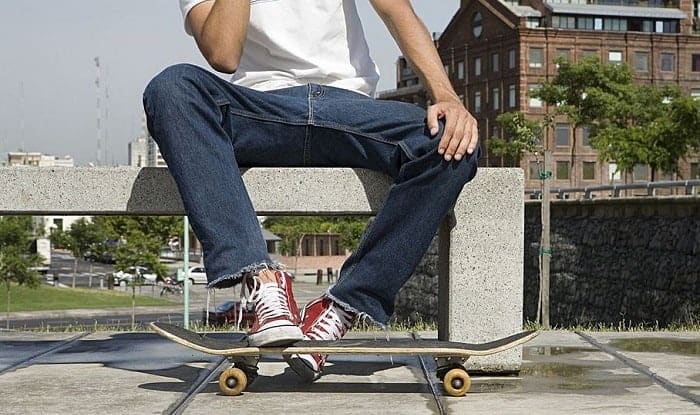
Have you ever experienced discomfort on your feet during your skateboard ride? If your answer is yes, then you’re probably not wearing skateboard footwear the right way. Learning how to lace skateboard shoes could give you a perfect balance of style, comfort, and safety during trails.
This information will make you creative in lacing your shoes without having to shed some sweat. It will also let you decide which style makes you most at ease.
Table of Contents
What You Will Need
To feel ecstatic about riding your new skateboard is normal, but it gets more exciting when you have the best pieces of equipment with you. Let’s make your dream adventure happen with the help of the following:
- Skateboard shoes
Picking any pair of shoes nearby may not guarantee a good ride. Examples of the best shoes you can use are a DC Legacy OG or a Nike Zoom Blazer. It is also necessary to pick a pair of shoes whose rubber sole grips the stepping surface of your skateboard well. And while some users prefer having their shoes bigger than their actual size, always choose the one that will make you feel most confident regardless of the size difference.
- Your preferred shoelace
Your shoelace is not only an agent of style for your shoes. It also lets you adjust the fit of your shoe so that it doesn’t get too loose or too tight.
Different types of shoelaces fit skateboard use, like flat cotton or paracord. It would be ideal to have a shoelace with some strain-relief capacity to prevent stretching permanently. You should also pick a shoelace long enough to cater to lacing styles and give you ample length to knot its ends. Lastly, select a lace color, which is not necessarily neutral but looks pleasing on your shoes.
- Your skateboard
It’s necessary to have your skateboard by your side when lacing up your shoes. You would have to step on it every time you make adjustments or to see whether you’ll be comfortable once you’re on board.
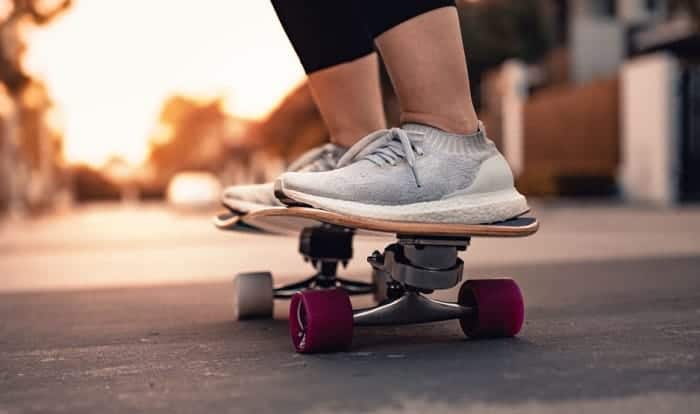
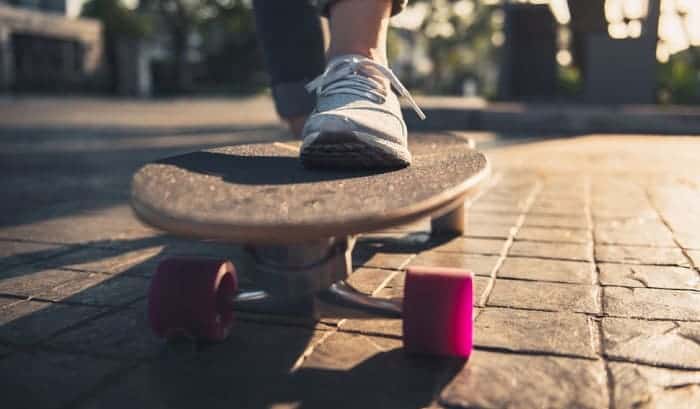
Like skateboard shoes, you have the option to select among a wide array of skateboards. But for your safety, make sure that your shoes will make a firm grip on your skateboard once you step on it. That way, you’d be more confident about going on inclined trails and braking.
Steps to Lacing Your Skateboard Shoes
Lacing sneakers is simple, but consider the following steps to give yourself a more detailed explanation of each procedure.
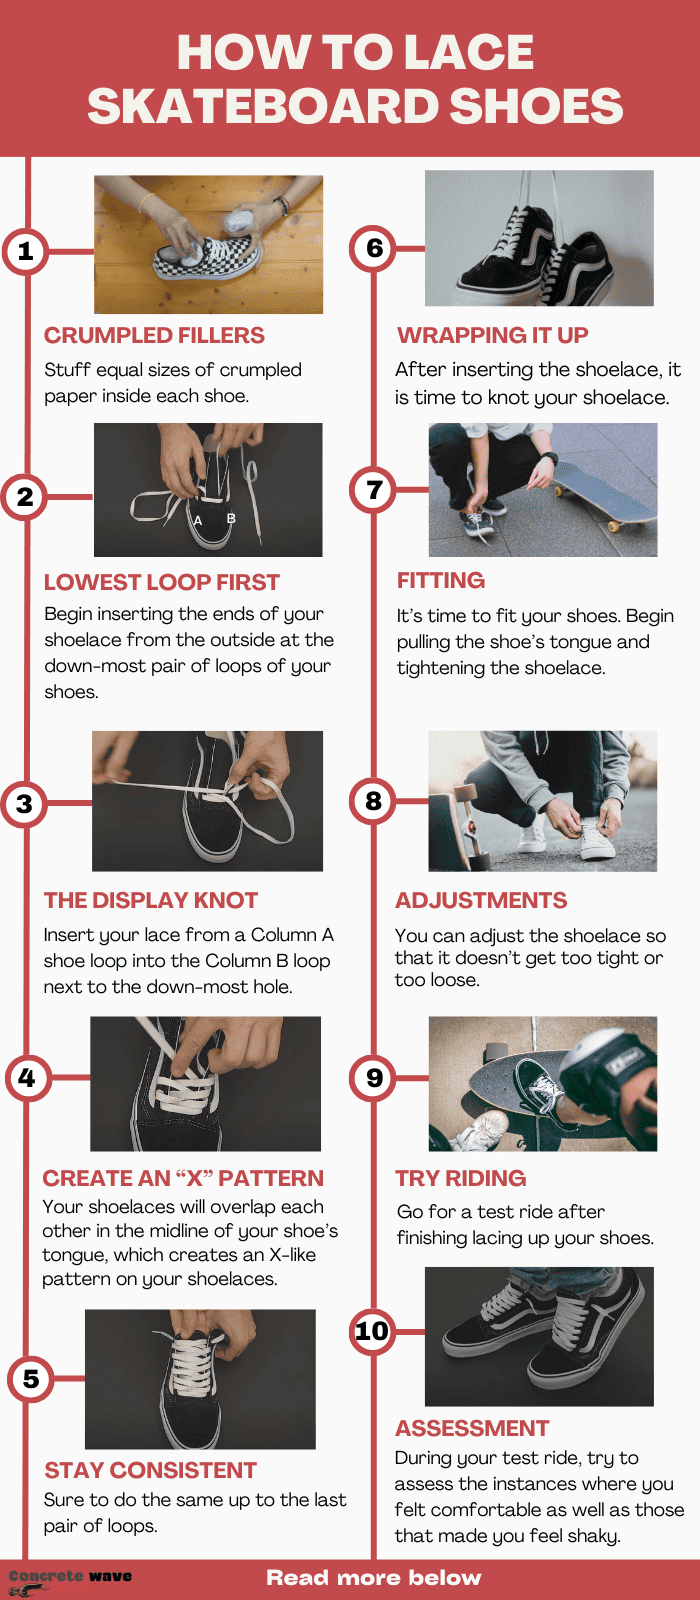
- Crumpled fillers
Stuff equal sizes of crumpled paper inside each shoe as if your foot’s inside it. This procedure will keep you from overpulling the lace and tightening excessively. Be careful not to overstretch the shoe to keep it in shape. It would also be good to have a shoe tree to make your fillers’ size the same.
- Lowest loop first
Begin inserting the ends of your shoelace from the outside at the down-most pair of loops of your shoes. Let’s label each column of loops as A and B. If you are using a flat cotton shoelace, make sure the lace doesn’t twist to maintain a neat process. Pull the lace ends upward and align them at the middle of your shoe’s tongue. Adjust to make each lace end’s length equal.
- The Display Knot
Most All-Star owners prefer to have the classic Display Knot design on their shoelaces. To achieve this, insert one end on the upper loop diagonally. So, if your lace end comes from a Column A shoe loop, insert it in the Column B loop next to the down-most hole. Make sure to fill each shoe loop in an upward and chronological order so that you don’t miss one.
- Create an “X” pattern
Your shoelaces will overlap each other in the midline of your shoe’s tongue. This step creates an X-like pattern on your shoelaces. Remember to insert each lace end the same way you filled the first two loops. That way, you make shoe lacing look orderly and uniform.
- Stay consistent
If you started overlapping lace ends coming from Column A over Column B, be sure to do the same up to the last pair of loops. This procedure makes your shoe lacing look clean.
You have the option to mirror the other pair of your shoe or apply the same manner you used on the first one. Also, if you are using a flat cotton shoelace, ensure that it does not twist at any instance and that only one side shows up after every insertion.
- Wrapping it up
You may decide not to fill the last one or two pairs of loops on your shoes, and that’s normal. After inserting the shoelace in your last desired loops, you should expect the same length for both laces’ ends. That way, you would have equal lengths to knot your shoelace. Other skateboard users prefer to keep excess shoelaces tucked under their shoes’ tongues or tie them differently.
- Fitting
Now that you have finished putting laces up to your last desired pair of loops, it’s time to fit your shoes. Remove the stuffed papers you had inside each shoe. If your foot doesn’t fit in yet, try loosening the shoelace but keep it neat and organized. As soon as your foot gets inside the shoe, begin pulling the shoe’s tongue and tighten the shoelace.
- Adjustments
Should you encounter tightness on your toes or foot’s bridge, you can adjust the shoelace so that it doesn’t get too tight or too loose. A snug fit will be the best. Also, try walking and doing rotations on your feet. That way, you will know if you’re comfortable with your shoes.
- Try riding
The last thing you have to do once you finish lacing up your shoes is to go for a test ride. Wearing protective gear is also advised to prevent possible injuries during the trial. Observe your stance and stability while riding your skateboard. Start with a flat road, and once you start to feel confident, you can start going for inclined trails.
- Assessment
During your test ride, take note of the instances where you felt comfortable, as well as those which made you feel shaky. Try to assess when something during your ride caused pain in your ankle or any part of your foot. That way, you can make some adjustments and ensure a more secure ride the next time around.
There are a lot more shoe lacing designs you can follow. You can find them among various sources across the web, or you can have someone teach you as well. Nonetheless, keep in mind the basic principles you have to enact whether you lace your shoes classically or more creatively.
After doing all the steps above and you are still not really comfortable. I think you should consider your socks; maybe they are old and not as great as they used to be. Or are you a collector of skateboarding accessories? travel bag, backpack or glove, of course, indispensable accessories for a professional skater.
Conclusion
Did you have fun following this tutorial? Lacing up your sneakers should not be done carelessly at all. Emphasize each aspect of your skateboard shoes because you are dealing with an extreme sport. Always prioritize what’s important, like your safety and comfort during rides.
Keep the tips and steps I have shared with you on how to lace skateboard shoes, and assure yourself of the best ride you’ll ever have. Do you find this article helpful? Share your thoughts in the comments section.

Hi, I am Charles Harris. I opened this site to write as much as I can about my biggest passion – skateboarding!
I started as a clumsy yet passionate rookie 10 years ago to now a still passionate yet much better skateboarder! But I have to tell you, the whole journey has always been fun and rewarding, indeed not without hardship.


