

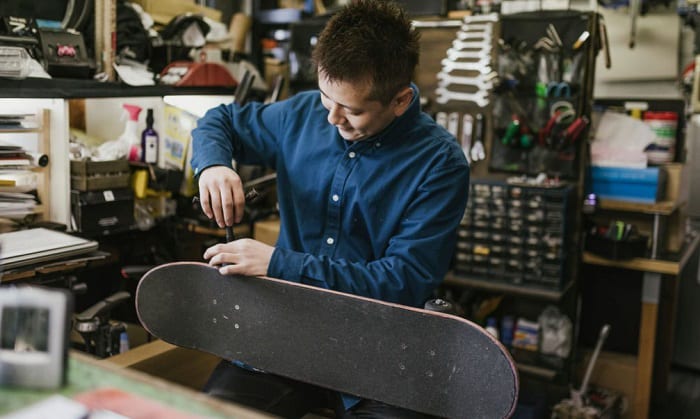
The longer we practice skateboarding, the more we venture into new skills and pieces of equipment.
And like many skaters, the time will come when we have to repair, replace some parts, or even hang the skateboard up for good. But whether we plan to use them sometime soon after putting them to rest, we always have to consider proper skateboard storage ideas.
So, let’s learn how to store a skateboard. In this article, we’ll explore how to keep skateboards in good shape for future use and hang them permanently to give way to new ones.
Table of Contents
What You Will Need to Store a Skateboard
Not only do you have to invest in a good skateboard, but decent storage too. Doing so will help you preserve the board during winter or times you don’t use it.
But before we head into the store to get the tools, let me emphasize that we’ll have two skateboard display ideas in this tutorial: using a skateboard rack and a wall hanger. Here’s what we should prepare.
Method 1: Using a skateboard rack
- Plywood – Plywood is a generally popular material for furniture for its rigidity and ability to hold weight.
So, prepare two pieces of plywood 82″ in length and 9″ in width. These will serve as the walls of your skateboard shelf. And for clarity, let’s name these pieces Part A.
We’ll also need four pieces of plywood sized 6″ in height and 10″ in width. Note that the width will be the gap between the two Part A planks. These will support the rack against the wall and on the floor. Let’s name them Part B.
- A steel tape – You need precise measurements for your skateboard rack. For this purpose, preparing a steel tape at least 5m in length will suffice.
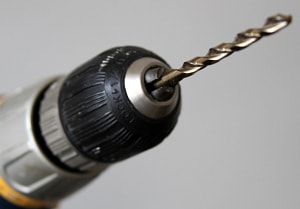
- Power tools – We’ll still need to cut a few areas of the pieces of wood we prepared. So, the handy power machines we need include a drill with various bits, a jigsaw, and a round-over bit for a clean finish.
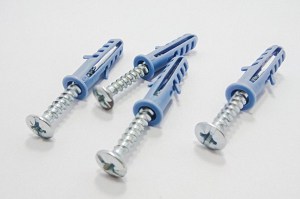
- Screws – You won’t find them in skateboard bag essentials, but mounting tools will put the rack into place. So, prepare at least a handful of screws to assemble the pieces of wood and mount the entire shelf against the wall.
Method 2: Using a wall hanger

- Skateboard wall hanger – This tool lets you put skateboard on the wall without having to construct anything.
Luckily, skateboard wall hangers are available in many physical and online skate stores. What’s better is that these options do not require detaching the skateboard trucks.
Skateboard hangers may come in various styles but still have an identical mechanism. They come with the necessary mounting tools, so there’s no need to buy such parts separately.
- Power drill – Like the previous method, we’ll also use a sturdy wall. To ensure the firm installation of the wall mount, we need to use a hand drill to pave a snug slot for the bolts.
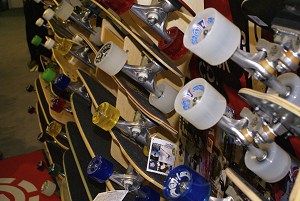
Different Ways to Store a Skateboard

As discussed, we’ll apply two different methods for storing a skateboard. Let’s get into each of them.
Method 1: Skateboard rack
Step 1: Plot the cuts
Using your steel tape and a pencil, divide the length of each Part A plank into two equal parts.
Put a tick mark on the wood’s edge around 10″ from the top. Place another edge mark 1.25″ below the first tick. The gap between the marks will serve as the slot for the skateboards.
Draw a pencil line from the two edge tick marks to the middle part of the plank.
By then, you’ll see parallel lines angled downwards from the wood’s edge to the middle of the plank.
Repeat the same parallel lines across the plank with around a 6.5″ gap in between.
Step 2: Cutting the wood
Get your drill and a Forstner bit. Drill holes at the middle of the wood plank and right in between the tick marks drawn 1.25″ apart. Doing so will give your skateboard decks a smooth, rounded space inside the rack.
Using your jigsaw, cut along the parallel lines drawn for the skateboard slots. By then, you’ll see the Forstner hole connecting to the cuts made by the power tool. Visually, it’s as if you’re cutting a letter U on the plank with the curved side in the middle of the wood piece.
Ultimately, use the round-over bit to smoothen the skateboard slot edges.
- Pro tip: Place and align one Part A over another and fix them with double-sided tape. It’ll help you do the entire process more efficiently.
Step 3: Assembly
It’s time to use the four 6″ x 10″ planks we prepared. Three of these will serve as the backbone of the rack, and the last one will be the rack’s bottom.
Before separating the two Part A planks, drill two holes on the bottom edge first. These should make way for the wood screws to lock Part B into place.
Similarly, plot three pairs of screw slots on the uncut edges of Part A. Be sure the three pairs of holes have an equal distance for optimum rack support.
Now let’s begin installing Part B for the rack bottom. Hold one Part A with the skateboard slots facing up. Align its width with the surface of Part B. Drill the screws on the holes, and do the same thing with the other Part A plank.
By now, you have already fixed the floor of the bedroom skateboard rack.
Next, plot the three remaining Part Bs on the uncut side of Part A. This time, their surfaces should be resting on Part A’s length.
Drill the screws on all the holes plotted. Finally, mount the Part Bs against the wall using another set of screws to keep the rack from moving.
Method 2: Using a wall hanger
Step 1: Plotting the skateboard’s location on the wall
No matter the wall-mount hanger design you choose, we’ll still begin with the hanger’s assembly.
So, designate a location on your wall first. We will be drilling holes later, and you don’t want to leave unused screw slots on your walls. The height and the alignment of your skateboard hangers are purely discretionary.
If there’s one thing we need to consider, it’s the spacing. When plotting your skateboards’ location on the wall, be sure to put a gap between them. That way, they don’t look congested.
After designating the wall hanger and skateboard locations with a pencil, it’s time to mount the wall hangers.
Step 2: Installing the wall mount
Begin to drill holes against the wall. Insert the tox in each hole until fully submerged.
The succeeding installation steps for wall hangers may differ. But often, you’ll have to align the holes of the wall mount against the newly installed tox.
Next, lock the wall mounts with screws. Be sure to tighten them until the hangers are steady.
Lastly, hang a longboard or skateboard the way the item’s instructions tell you. Usually, you’ll use their upper trucks. The board could also be hung sideways, or the stepping surface faces out.
Other Ways to Store a Skateboard
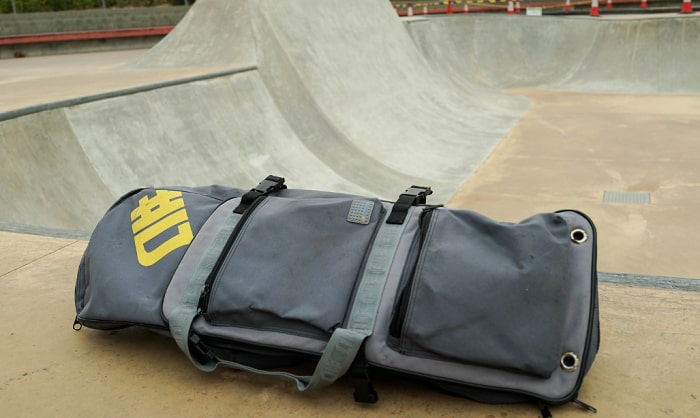
- Using a skateboard storage box or bag
- On a skate parking block
- Inside your car’s trunk
Why You Should Properly Store Your Skateboard
Caring for our skateboards goes beyond changing or repairing their parts. Even when they’re idle, we still have to ensure they’re preserved. Take note of the following.
- When there is too much coldness or humidity skateboard users should consider another longboard storage location. Leaving skateboard in cold car will end up shortening its life.
- Your skateboard and its parts may wear out faster if exposed to damp environments. So, you better keep them away from wet areas.
Conclusion
Clothes, shoes, and other personal items need protection against elements that damage them. Similarly, skateboards are also susceptible against these factors.
So, how to store a skateboard in the best way? It’s entirely up to you. You can be creative with pieces of wood, or you can use readily available items from a skate store.
As long as you fulfill the very purpose of keeping skateboards safe, you’re doing it right.

Hi, I am Charles Harris. I opened this site to write as much as I can about my biggest passion – skateboarding!
I started as a clumsy yet passionate rookie 10 years ago to now a still passionate yet much better skateboarder! But I have to tell you, the whole journey has always been fun and rewarding, indeed not without hardship.