

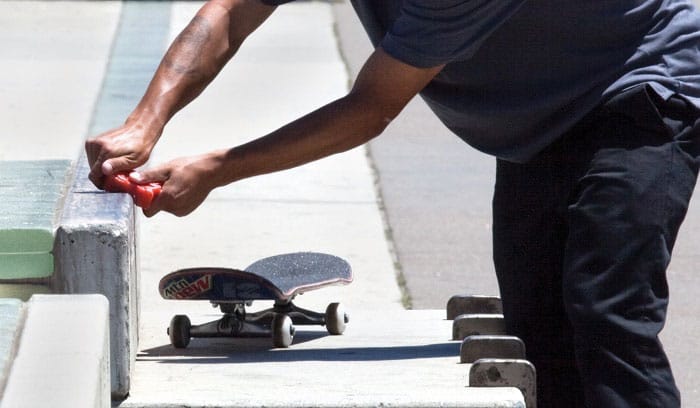
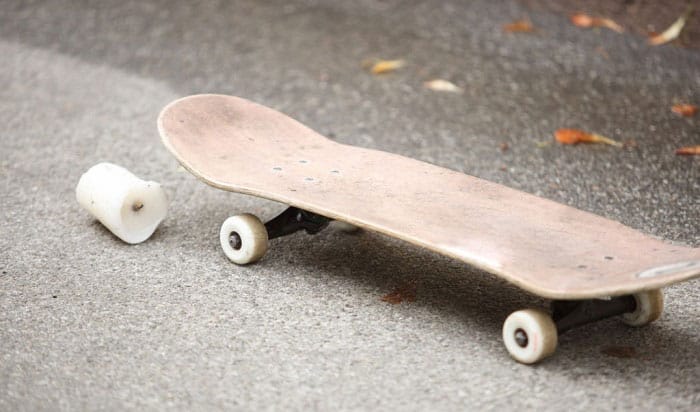
One of the essentials in doing tricks or stunts on rails, curbs, and hard surfaces, a basic wax made of paraffin or pure beeswax is used by well-known manufacturers in the skateboarding industry. This skateboard wax or skate wax fills in the irregularities or cracks on skating platforms and minimizes friction.
It’s easy to buy new wax, whose price ranges from $5 to $15, but if you’re thinking about how to make skateboarding wax, this is the article for you. All the necessary materials are surely in your household, like used candles or crayons that you can turn into skate wax and shape for convenient use.
Table of Contents
What Will You Need?
Many skaters depend on high-quality skateboard wax to do grinds on rails and hard surfaces with relative ease. You may save money by making your own skate wax at the comfort of your home instead of purchasing it from a skate store, which can be quite expensive.
Make curb wax by melting crayons or candles in the oven, or as you get more familiar with the procedure, you may experiment with a raw paraffin and beeswax combination to produce even better wax bars.
Here is the list of tools and materials that you’ll need:
Method 1: Candles or Crayons
- Candles – There are many different types of candles, but the most common are made of wax.
- Crayons – are colored wax sticks used for writing or sketching. Wax crayons are distinct from pastels in that the pigment is combined with a dried binder.
- It’s recommended to make use of your old crayons and candles instead of discarding them.
- Oil – Cooking Oil, Olive Oil, Canola Oil, and Vegetable Oil. You can use any of these oils. The oil will make the wax bendable and easy to apply on a skateboard. You won’t need too much oil; just one teaspoon of it is sufficient.
- Oven – An oven is a piece of equipment that is used to heat things up to a certain Ovens have a hollow chamber and a mechanism to regulate the temperature of the chamber, which is appropriate for this project.
- Dye (optional)
Method 2: Paraffin Wax and Beeswax
- Paraffin Wax and Beeswax – Cream-colored candles are made by combining beeswax and a paraffin base, but this mixture can also be used to improve your skating. It’s also manageable in terms of molding, which is why it’s one of the suitable materials to make skate wax.
- Mold – a mold is a hollowed block that is used to fill wax, metals, and glass in order to create the desired shape of an object. Choose a mold that is convenient for your use. You can use ice cube molds, heat-resistant containers, or metal cans.
- Metal Pot
- Dye (optional)
Step-by-Step Instructions
Regularly purchasing skating wax may get costly over time, and you can create your own with a little effort. Here are the skate wax recipe and procedures to create your own skate wax.
Method 1: Candles or Crayons
Step 1: Preheat the oven to 180 Degrees Celsius
First, preheat the oven to 180°C. While your oven is heating up, prepare all of your ingredients. Due to the low melting point of waxes, we recommend keeping the temperature low (under 200°C) when making skateboarding wax.
Step 2: Gather your old Candles and Crayons
Gather all your old crayons and candlesticks. Remove the paper and wick from crayons and candles. After gathering crayons and candles, we recommend breaking them up into smaller pieces so the wax melts faster in the oven.
Step 3: Place all of the wax supplies in the oven
Place the wax in a large oven-safe mixing bowl or one of your cake baking bowls. As a precaution, we recommend using old Microwave-safe bowls, as the crayons are quite vibrant and may stain your container.
After arranging your broken crayons and candles, pour some cooking oil or olive oil into your oven-safe bowl or pot. 1 tsp of oil is recommended. The oil will help make skate wax pieces less flaky and easier to apply.
Step 5: Bake the wax for 10 minutes
With your oven warm, bake your wax for 10 minutes. Keep an eye on the melting wax to avoid burning it. After all the crayons and candles have melted and dissolved into a wax mixture, remove the wax from the oven and optionally, add candle dye.
Step 6: Place it in the refrigerator for hardening
Afterwards, let the melted wax cool slightly and put it into the fridge. Refrigerate for 30 minutes to cool and harden the wax before using. After the wax hardens, you can use the finished product on almost any surface!
Method 2: Paraffin Wax and Beeswax
Step 1: Gather your Paraffin and Beeswax
First, gather your Paraffin and Beeswax. After you have gathered a modest amount of those waxes, we suggest that you split them into small pieces so that they melt faster in the oven.
Step 2: Place all of the wax supplies in the metal pot
After creating your smaller chunks of paraffin and beeswax, put them in a metal pot. I suggest a ratio of 4 parts beeswax to 6 parts paraffin, although 50:50 is also okay.
Step 3: Heat the wax
Place the pot on the stove and set it to medium heat. Stir the wax and wait until it melts completely. You can toss in some dye if you don’t like the wax’s brownish color.
Step 4: Place it in the refrigerator for hardening
If you want to shape your wax, pour it into molds. Be careful while handling the liquid so it doesn’t get on your skin. Before using the wax, refrigerate it for 30 minutes or let it cool overnight. After that, you may enjoy the ride with your finished wax product.
What Is the Purpose of Skateboard Wax?
Naturally, doing slides and grinds on rails or curbs produce friction, which might cause your trajectory to slow down, making it more difficult to perform. The use of grinding wax reduces friction and lets you enjoy cool stunts and tricks.
Wax skating products have positive effects on your skateboard like preventing deck damage caused by friction and protecting your board against water.
Why Should You Make Your Own Skateboarding Wax?
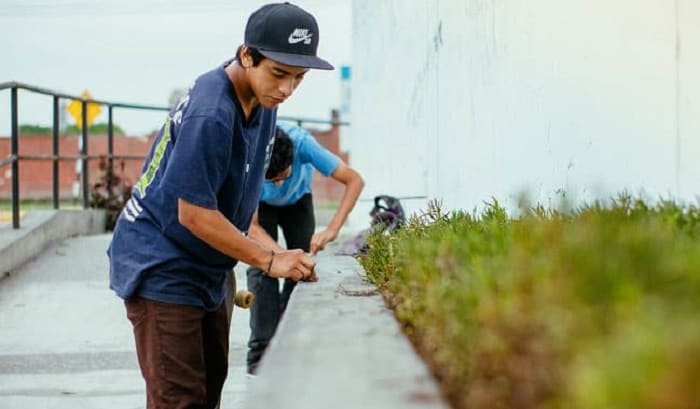
Buying skateboard wax from skate shops can be difficult, inconvenient, and costly. Making homemade skateboard wax only takes about 20-30 minutes, so you can do other things while it hardens. It is also a fun activity for kids, as long as adult supervision is available.
By using old candles, candlesticks, and crayons, you give them a new purpose while being eco-friendly.
Conclusion
As you can see, the process of creating your own wax is not quite as intimidating as you would think. Now that you know how to make skateboarding wax, to get the desired results, it is essential to properly follow the skateboard wax recipe and procedures.
Also, if you make skating wax, it’s a good alternative to the typical wax that you might find in a retail store. Feel free to experiment with which kind of wax you’ll use with reference to your needs.
If you find this article interesting, please consider sharing it with your friends or other skaters!

Hi, I am Charles Harris. I opened this site to write as much as I can about my biggest passion – skateboarding!
I started as a clumsy yet passionate rookie 10 years ago to now a still passionate yet much better skateboarder! But I have to tell you, the whole journey has always been fun and rewarding, indeed not without hardship.